Hola hola! I made my very first mug rug! Woohoo! I really needed one especially because I’m always munching onto something while studying and use my books as (ahem) mats. But, not anymore because now I have my darling mug rug. 🙂
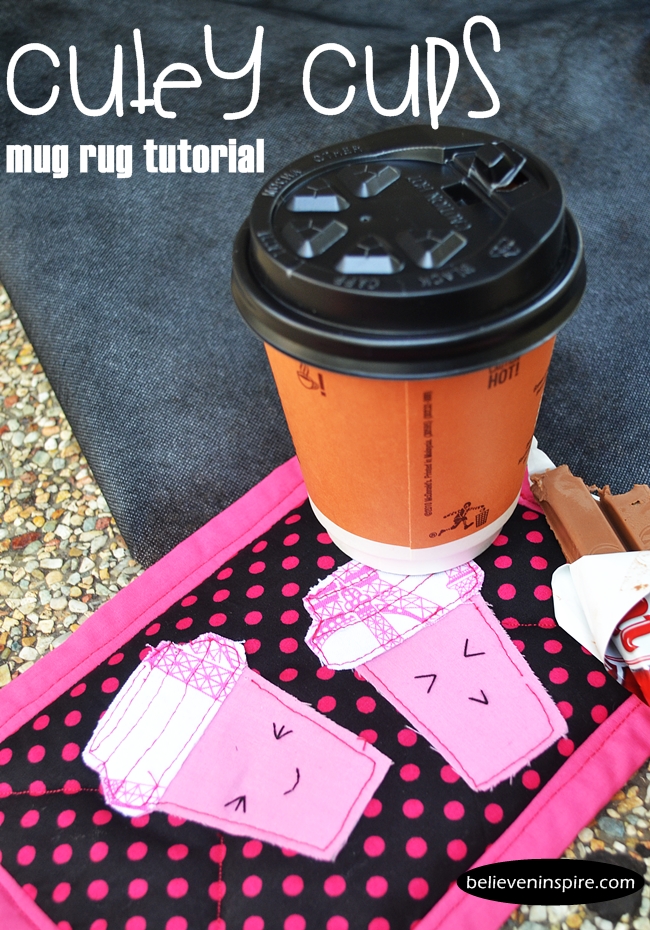
Of course, the theme color of this project is pink again, because honestly speaking, I lose my creative senses if there’s no pink. I hope that made some sense. If I make anything that doesn’t have pink I don’t get that satisfaction.
Okay, enough talking, onto the easy mug rug tutorial now.
How to Sew Cutesy Cups Mug Rug (Homemade Gifts)
Sew mug rug using these supplies. Some links might be affiliate links.
Supplies
- ¼ yard fabric for the mat
- A scrap of fabric for the cups
- A scrap of fabric for the cups’ covers
- ½ yard fabric for the bias tape
- Soft double-sided fusible interfacing
- Matching thread
- Batting
- Free template for the cups
The finished mug rug size is 7″x 5″.
Procedure:
1) Cut out two rectangles measuring 8”x6” from your main fabric.
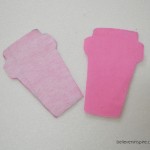
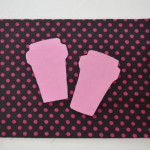
2) Cut out the cups and covers from the template. 2 from the fabrics and 2 from the fusible interfacing and fuse them together.
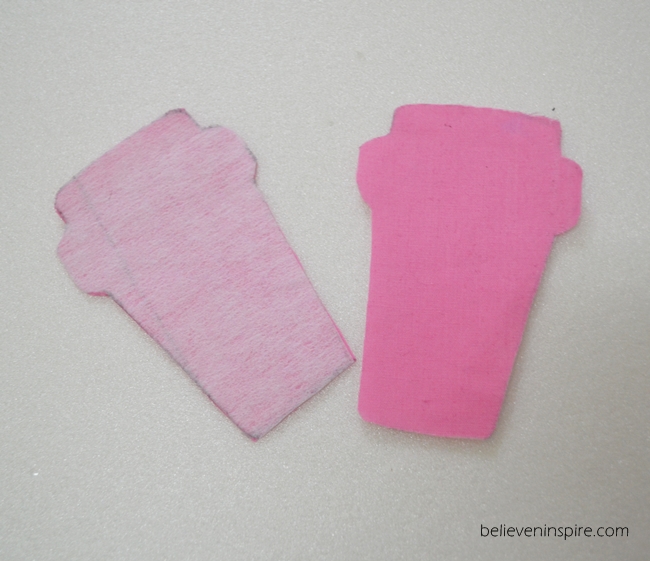
3) Place the cups onto one of the rectangles and if you’re using double-sided fusible interfacing fuse them together. Or else just pin.
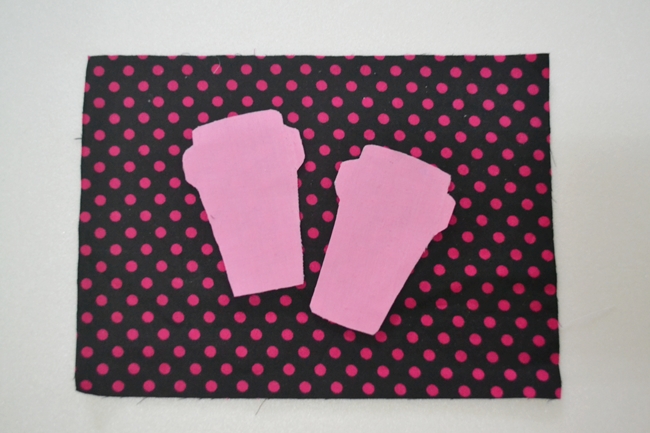
4) Sew with a straight stitch to make the outlines.
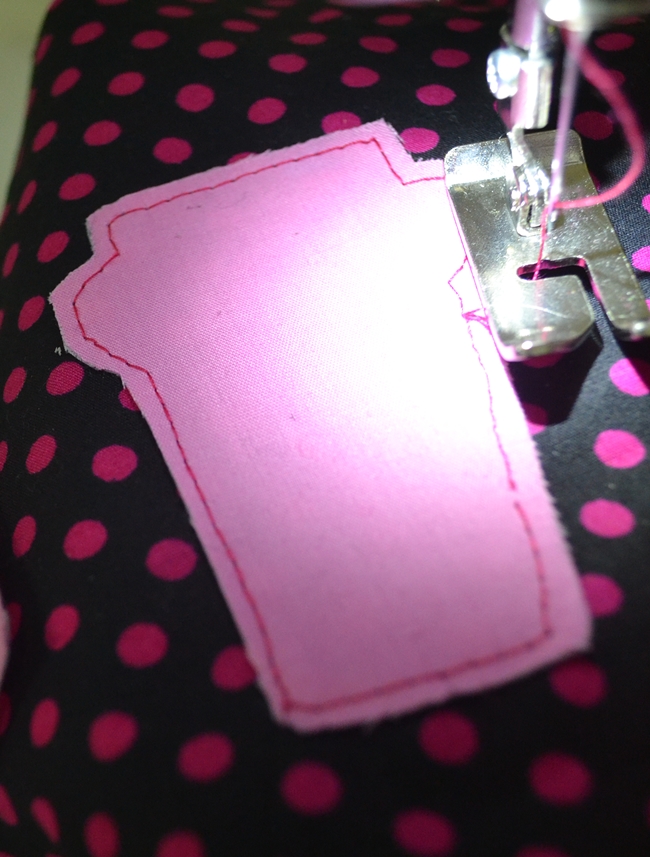
5) Pin your covers and sew. To sew the outlines perfectly, you can first draw them using an invisible marker.
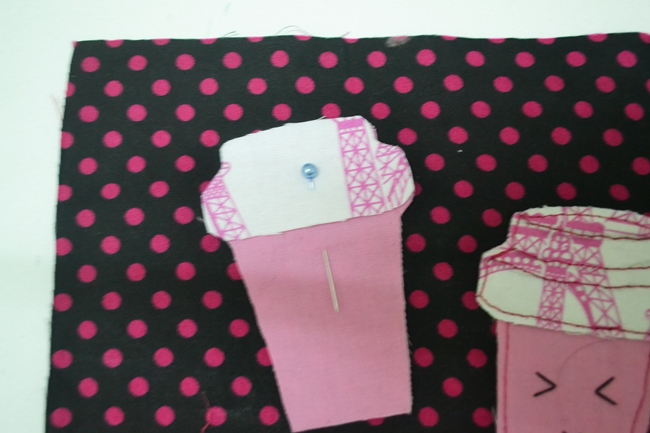
Or baste it roughly with by hand sewing it, then place on top of the cups and sew.
(WARNING: Do not use a pencil like I used it for my previous cup or else it’ll end up looking super dirty. I learned my lesson 🙁 )
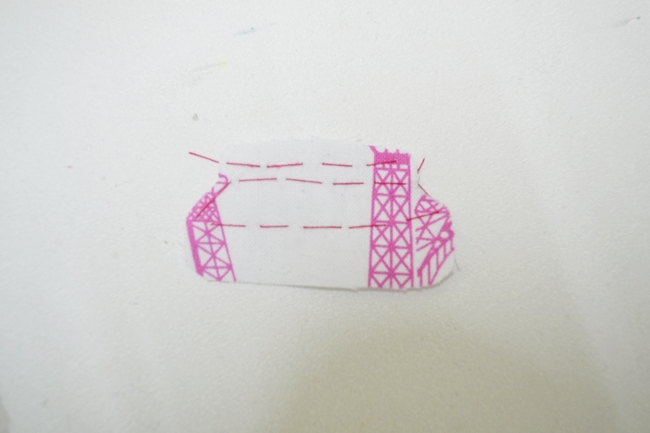
6) Next, using a black thread make two “V”s for the eyes and using back-stitch sewing technique stitch the lips or just make another “V”
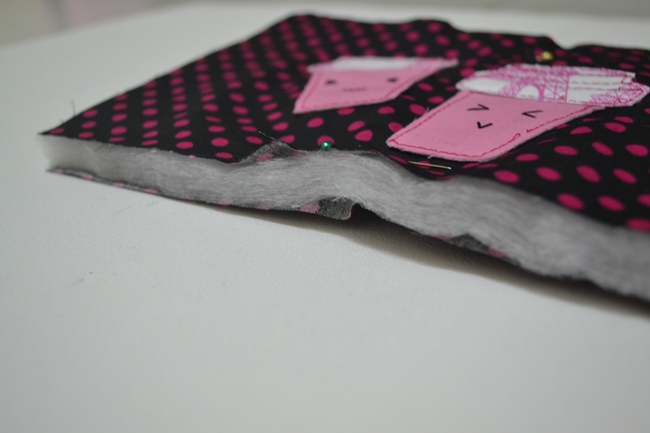
7) Next, sandwich the batting between the two exterior fabrics and pin.
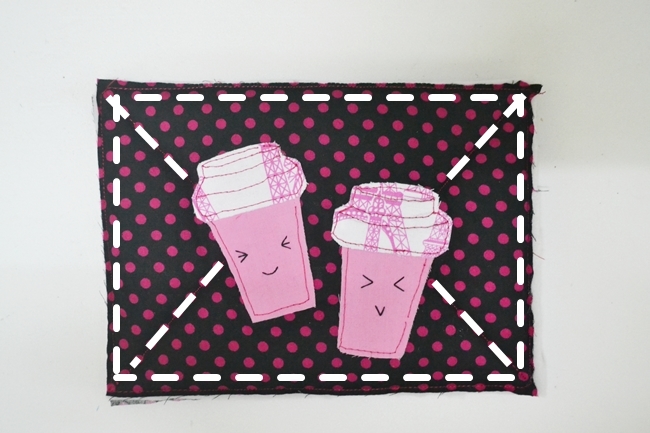
8) Sew around as shown by the dotted lines.
Make the bias tape:
Fold the piece into half lengthwise and press.
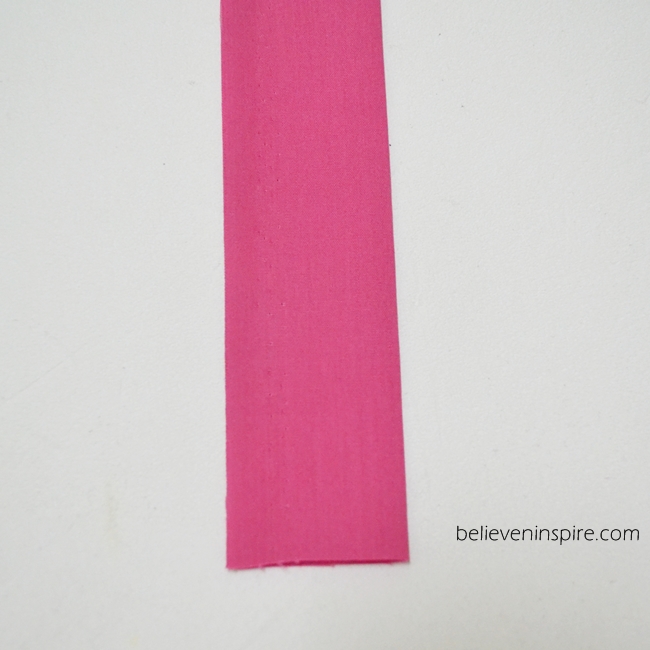
Next, open, turn the outer sides towards the center and press again.
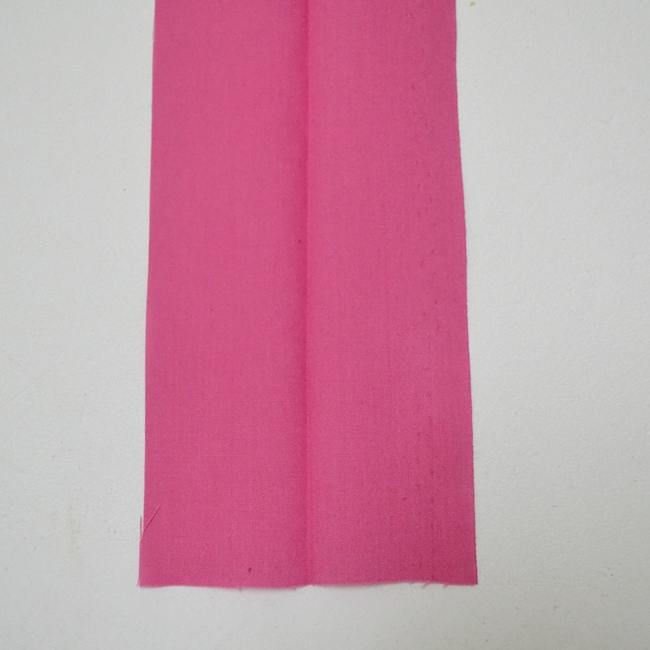
Like this.
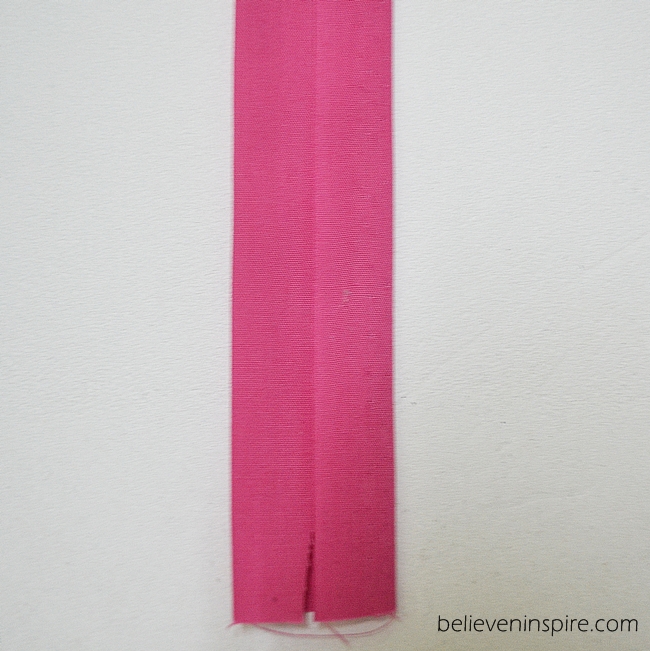
Sew along the pressed edged as marked by the dotted lines.
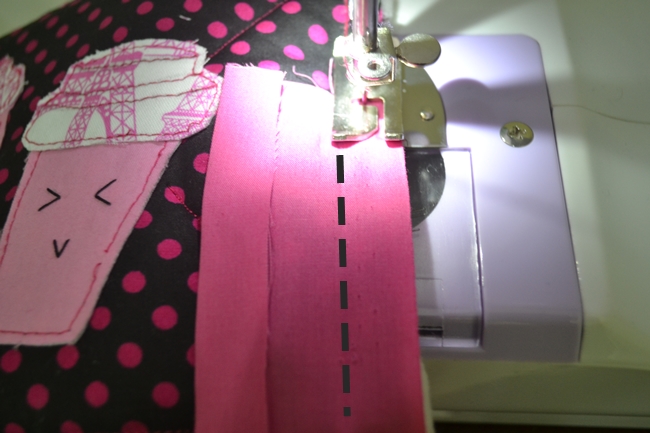
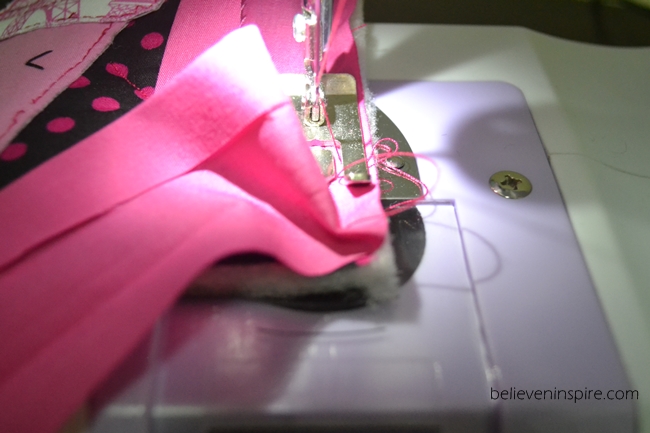
When you come across the corner, pinch the fabric as shown, turn and continue.
Next, turn the tape fold the exposed end diagonally inside.
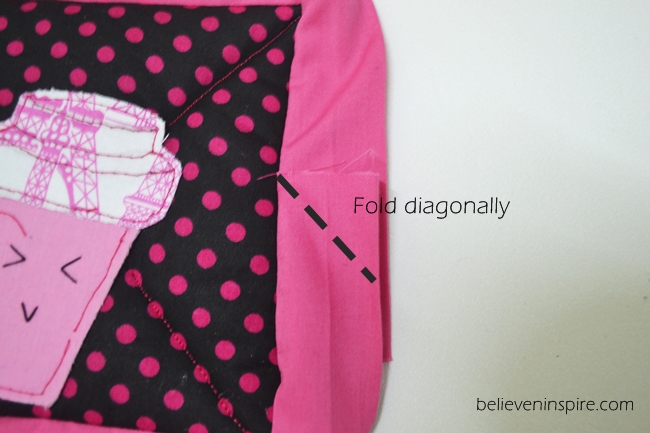
Like this, turn and sew like a normal mug rug.
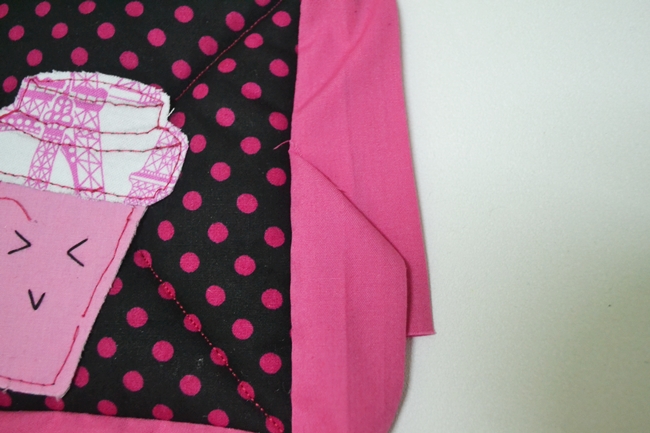
Press in the end, wrap it up and proudly gift it with your other homemade gifts. 🙂 Or keep it for yourself like myself. 😉
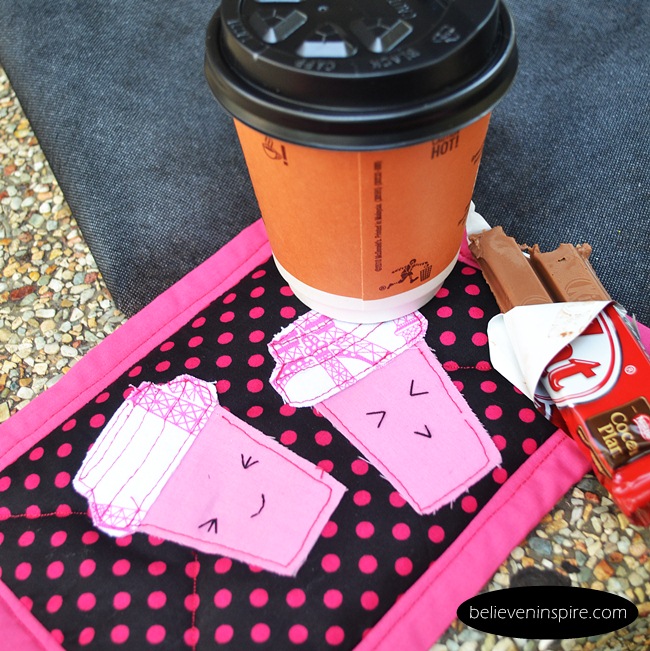
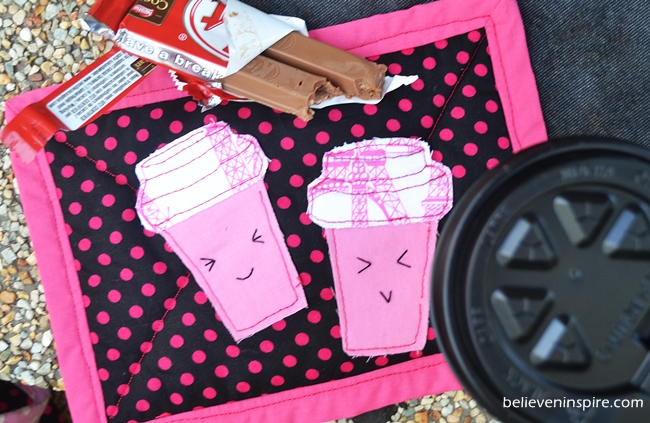
Psst. Do you wanna know a little secret?
That cup is actually empty. 😛
Yea; hot drinks are really a no-no for me, so I just went to our nearest Mc D and asked them for an empty coffee cup for the photo-shoot.
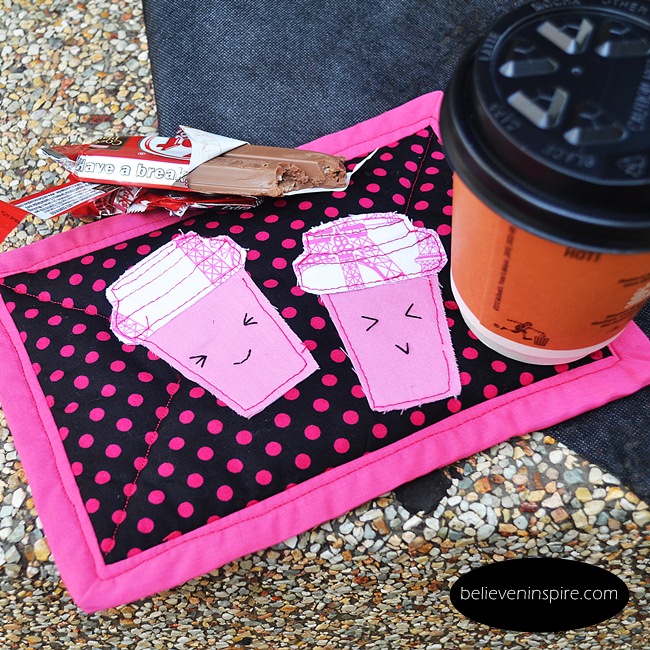
So, did you like this cute mug rug tutorial? If yes, then do check out the sewing tutorials category for more projects. You can also find more mug rug patterns in 70 things to sew for home.
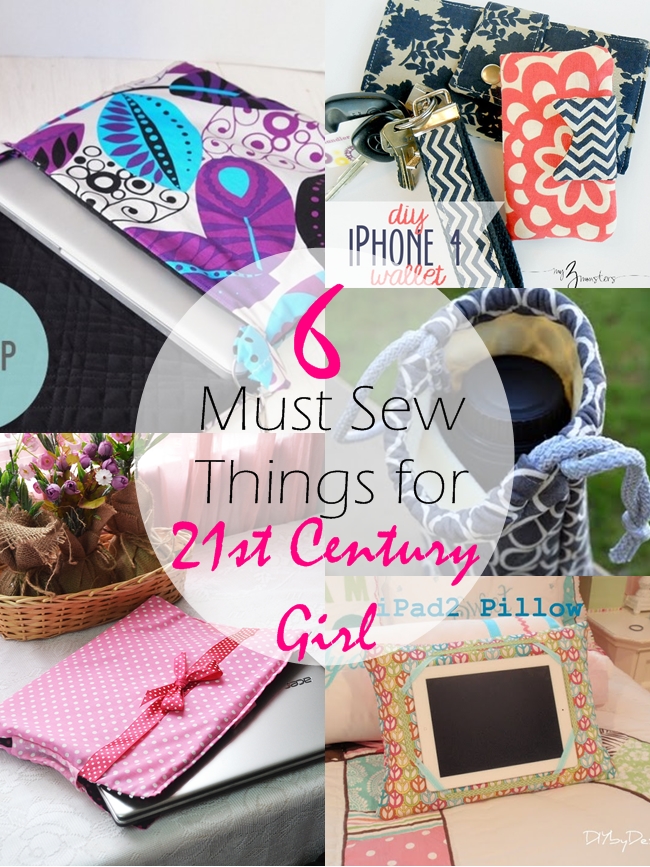
You should also check out 6 must sew things for 21st-century girl, I’m sure you can make one of those as gifts too. 🙂


OMG!! It’s so cute!!! I’m pinning it directly!!
And so funny that you asked for an empty cup!! lol!!
Hugs from Spain!!
Hugs back! 😀 So glad you dropped by!
Very cute!
Thanks Sherry!
Very cute pattern and fabrics. Your tutorial was easy to follow. Thanks!
Thnaks girl! <3 I'm so glad you found it easy to follow because I'm always worried if people can understand them or not.
Love the Cutsy Cup MugRug. Is it available as a print out to follow. This pin don’t let me print . Kindly let me know. You can email if like to.