Today I will be showing you how to make this gorgeous Night Out Purse, perfect for dinners and evening hangouts! If nothing, just another addition to your bag collection. I also use it as my mini travel bag just to stash my wallet and phone. 😀 So, are you READY?
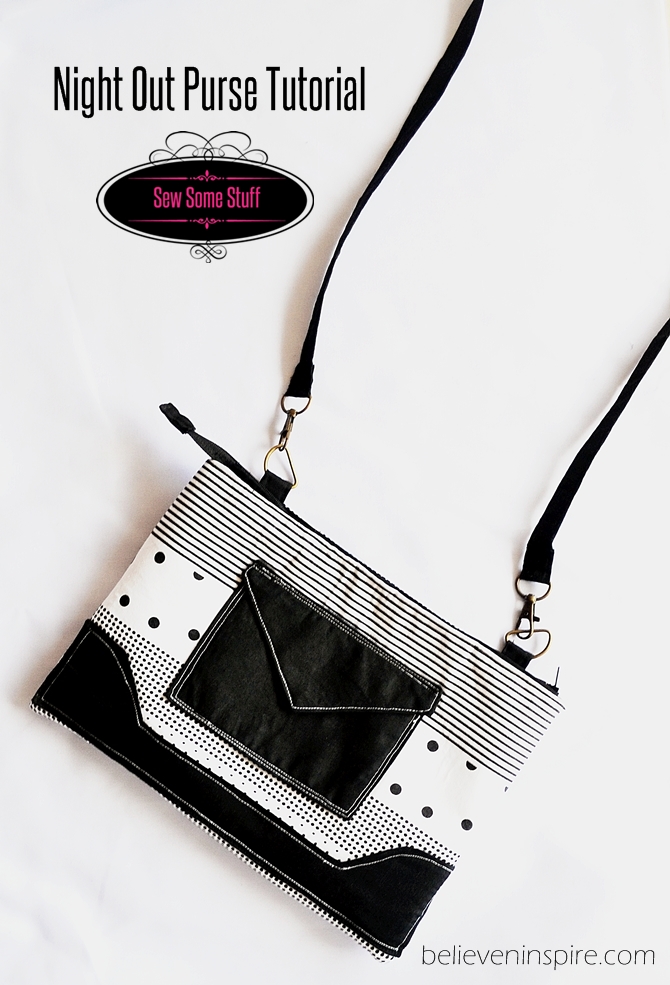
Pin this lovely night out purse tutorial on your Pinterest sewing board now!
Skill level: Intermediate
Night out Purse Tutorial
Supplies:(some links are affiliate links)
- 1/4 yard of main fabric (I used a fat quarter of quilting cotton, you can use home decor fabric too.)
- 1 yard of accent fabric
- 1/4 yard of lining
- 1/2 yard of mid-weight fusible interfacing
- 1/4 yard of By Annie’s Soft and Stable (This can help take your bag to really a pro level, adds a perfect shape to the bag).
- 1″ 2 Metal Swivel clips
- 1″ Metal D rings
- Snaps
- 12″ zipper
- Free pattern
Cutting for night out purse:
Cut out the following pieces of fabrics and label them accordingly with a fabric pen or post- it note to avoid confusion.
- A – 12″x9″ Cut two from the main fabric and two from the lining for the main body
- B – 6.5″x 4.5″ Cut two from the accent fabric for the rectangular pocket
- C – 40″x3″ Cut one from the accent fabric for the strap
- D – 3″x3″ Cut two from the accent fabric for the strap extenders
- E – Cut 2 from the template for the flap
- F – Cut 2 from the template for the accent
- G – 10″x 3″Cut two from the accent fabric for the zipper case
- H – 1″x 2″ for zipper tabs from accent fabric
From the soft fusible interfacing cut for each of the A, B, C and E.
From the By Annie’s soft and stable cut two pieces for the main fabric.
Instructions for night out purse:
Fuse all the interfacing to their respective pieces.
Make the accent piece
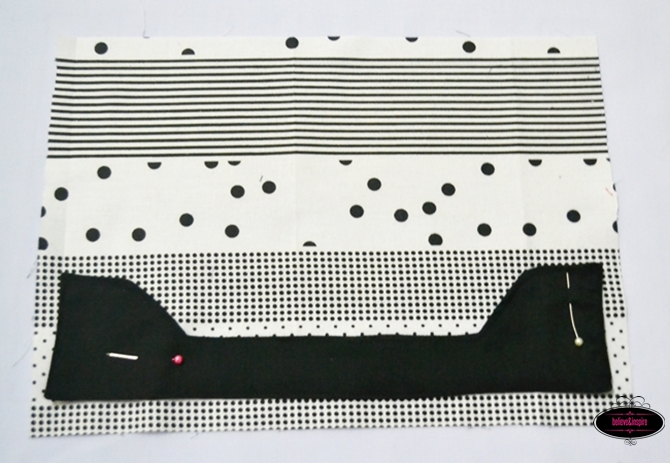
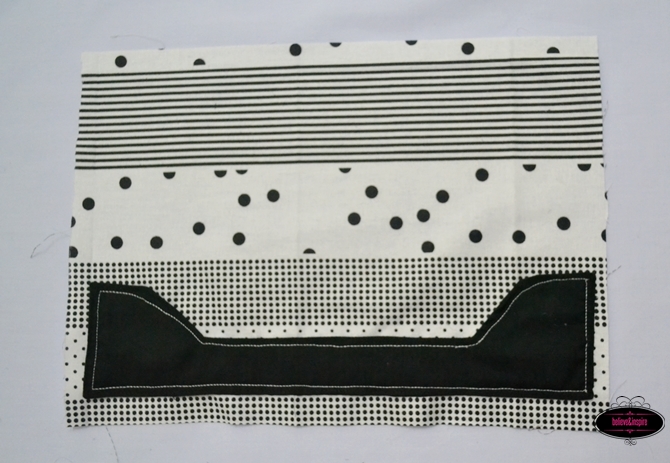
1) Take your F pieces and place them together so that the right sides are facing each other and sew all around leaving a small gap.
2) Turn the fabric right side out from this gap and press. Top stitch all along the edge.
3) Place it onto your F piece on the main fabric and pin. With a contrasting thread sew along the edges as shown by the next picture.
Add the pocket
4) To make the pocket take your B and E pieces and repeat steps 1 to 2.
5) Add snaps. (You can read this tutorial on my blog on how to add magnetic snaps).
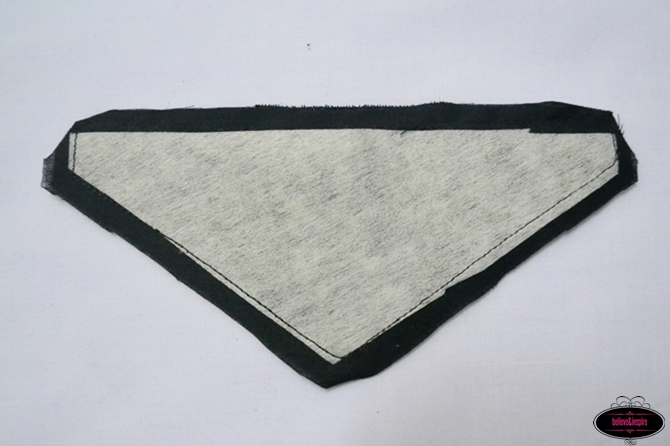
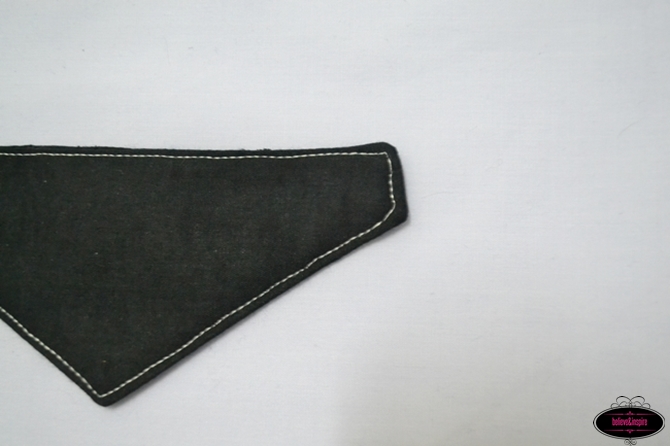
Pin the pocket and sew from three sides leaving the top part un-stitched because that’s what will make the pocket. Doh! 😉
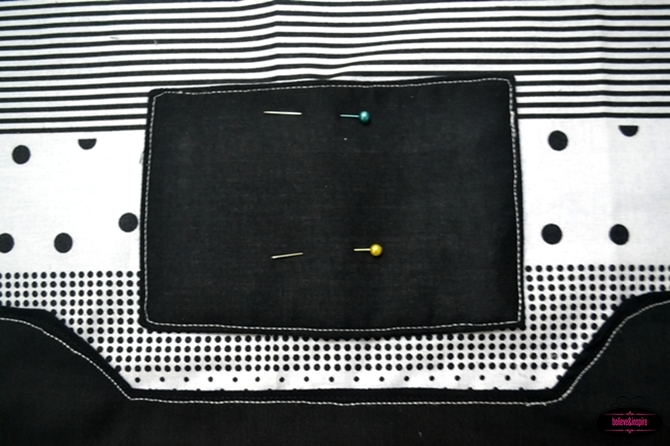
6) Pin the flap on top, adjusting it in a perfect position, it’ll be better to close the snaps and pin. Sew along the top of the flap.
Make the straps
7) Take your strap piece, fold it into half and press.
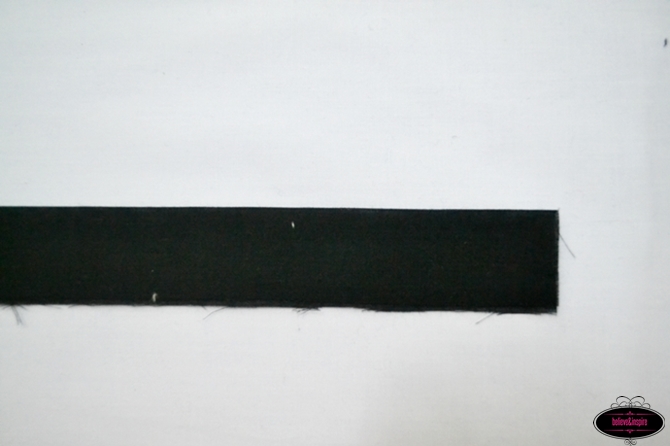
8) Open, and fold the outer edges inwards to the crease and press as shown in the picture below.
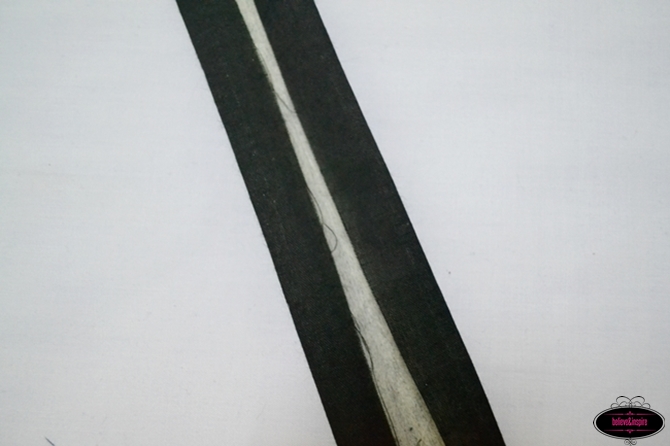
9) Fold from the crease and press again. Do an edge stitch on both sides. And you’re done!

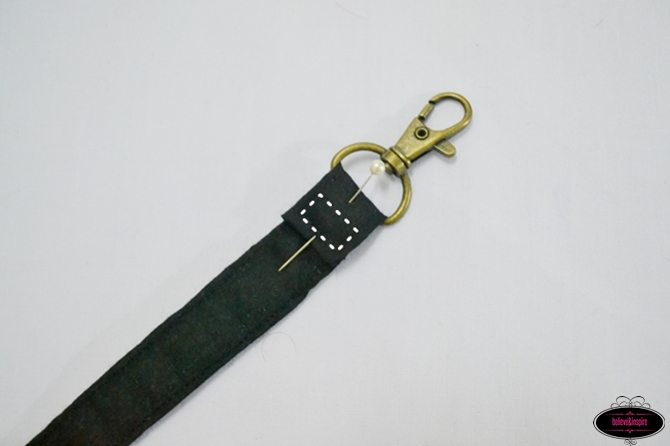
10) Next, inset the end of the strap into the swivel clip, pin and sew a rectangle as shown by the dotted box.
Add the zipper
11) Prepare your zipper through the tutorial here.
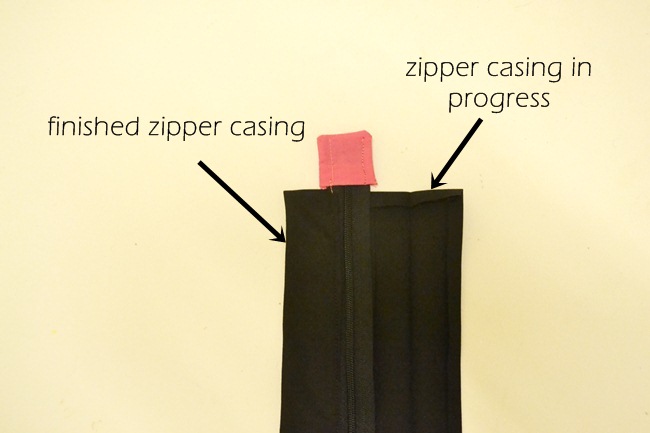
12) Take the G piece, fold it ½” towards the centre and press. Next fold the pressed edges towards the centre and press again to get an approximately 1” width piece. Also fold it inside from the top around 1/4″. This step is somewhat similar to how we did the strap.
13) Place the finished G piece under the zipper as denoted by the “zipper casing in progress” in the picture below.
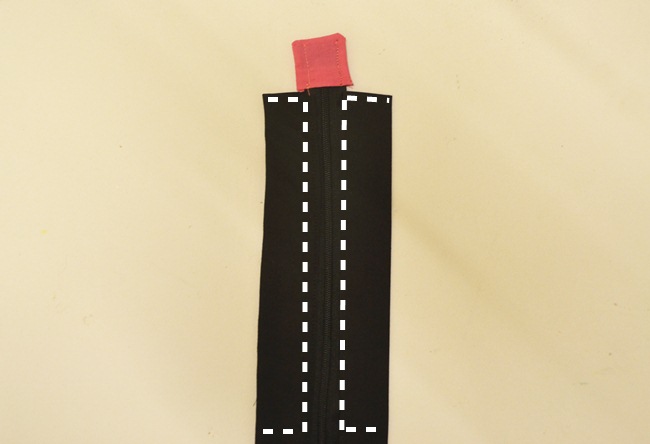
14) Fold over and sew as shown by the dotted lines.
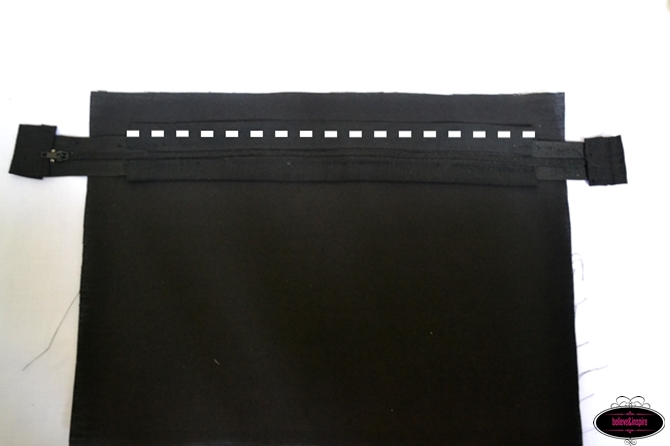
15) Place the zipper onto your lining approximately 1” from the top and sew along the dotted line as shown. Repeat for the other side.
Make the body of the night out purse
16) Take the two main fabric pieces, fold it 1/2″ from the top and press as shown.
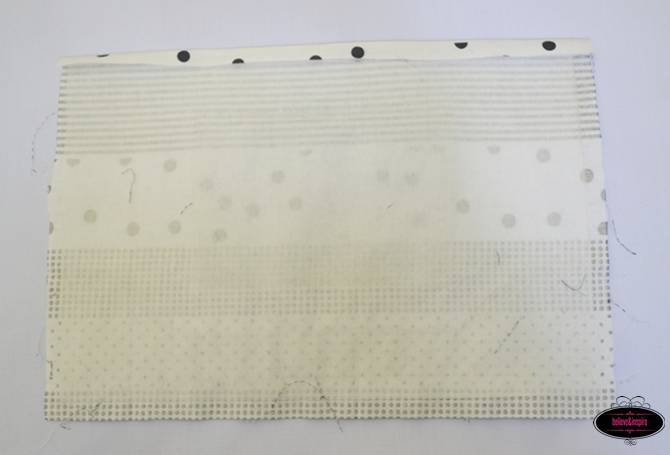
17) Place the two pieces right sides together with the Soft and Stable at the wrong side of each piece so that the main fabric is sandwiched between the Soft and Stable. Pin and sew from three sides leaving the top open. Clip the corners after you are done.
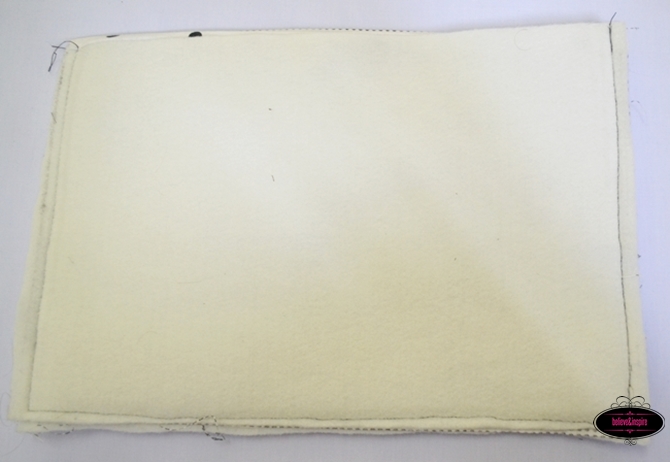
18) Repeat steps 16 and 17 with the lining.
Sew the extenders
Take the extenders fold and sew them the same way you did for the strap.
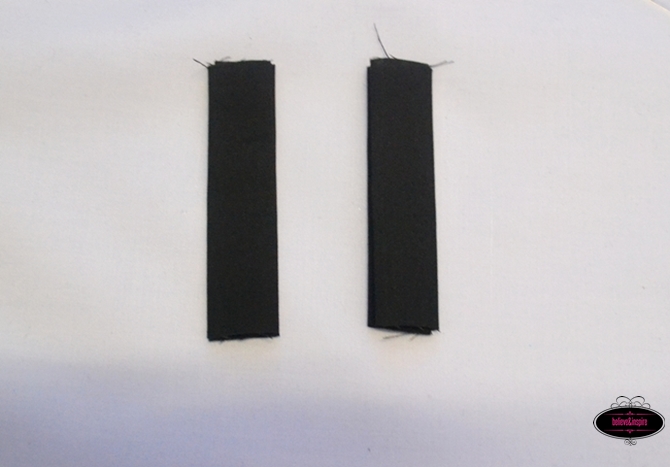
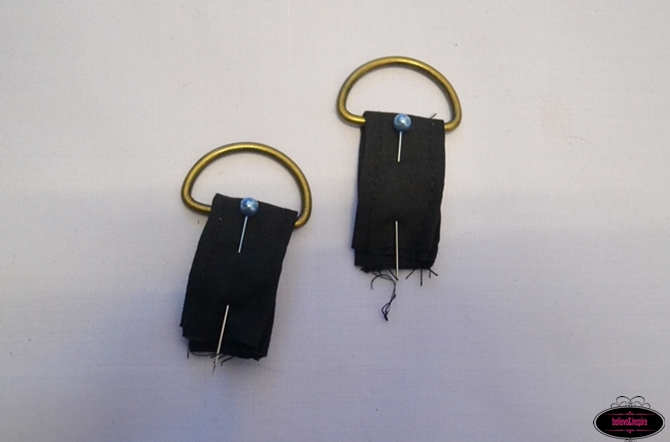
Insert the D rings, fold the extender into half and pin as shown.
Assemble the night out purse
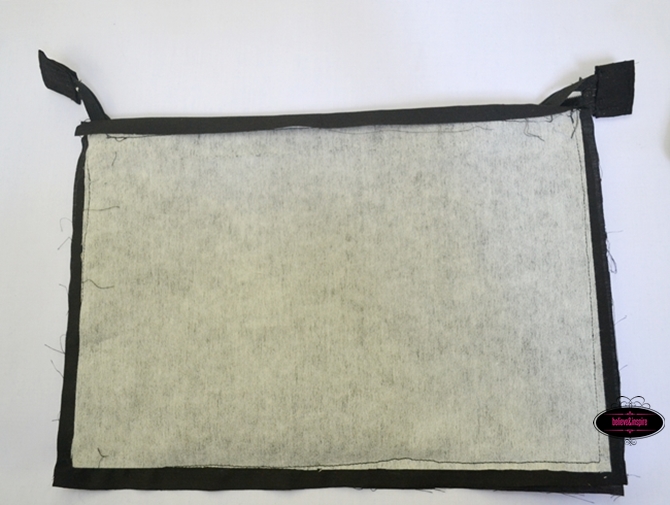
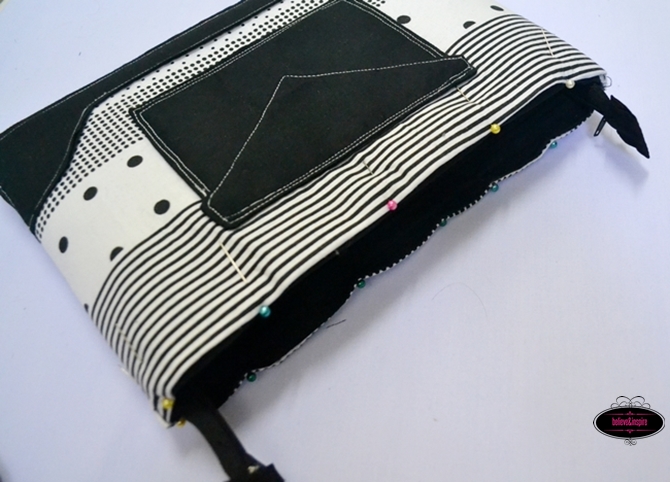
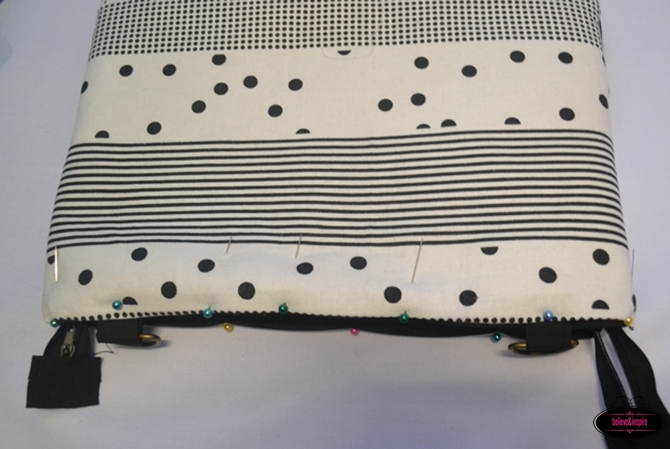
Turn the main body right side out. Now, place the lining body inside the main body so that the wrong sides are facing each other. Pin all around. Also pin in your extenders inside the bag on two opposite sides. It should go in between the lining and main fabric. Feel free to refer to the finished bag to get the idea. In my bag I added both the rings at the back but you can add one in front and one at the back. Make sure if the front one is at the right hand of the bag the back should be on the left side of the bag to balance the bag in position.
Sew all along the top edge. Now let me tell you this can be a bit difficult so you might want to take a little “me” time 😉 and continue when you are all relaxed.
You gotta take this part slowwwwlyyyy breathing in and out to get the perfect finish. Make sure your stitches are in a perfect straight line because this is really gonna show.
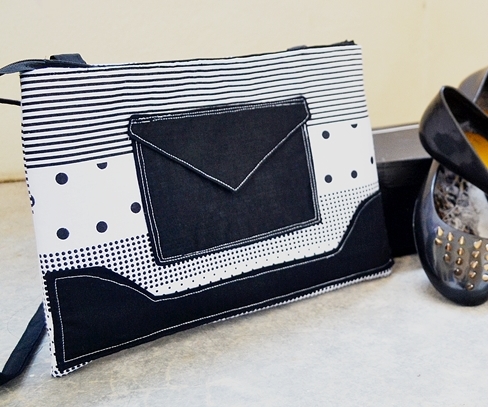
After you’re done just add the strap using the swivel clips and you’re READY TO HIT THE TOWN with your new night out purse!
My friends fell head over heels in love with my bag and couldn’t believe when I told them it’s a DIY project! 😀
If you loved this idea make sure you PIN IT on your sewing board for future reference. We have a PIN IT button at the bottom and top of the page.
Want to make a fancy one instead? I’ve got an idea! Check out the Fancy Lady Evening Wristlet, you’ll definitely love it.


Denfinately gonna try this. Thanks for sharing ?
Thank you so much as a matter of fact my daughter saw a purse she wanted but cost $89.00 it was perfect to put her cell phone which is bigger and hard to find cases of course it was also beaded which is what I am doing on a home made looming then attached to the purse and this pattern is perfect
You’re welcome! I would love to see how it turns out. Do send me a picture. 🙂