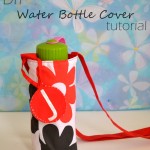
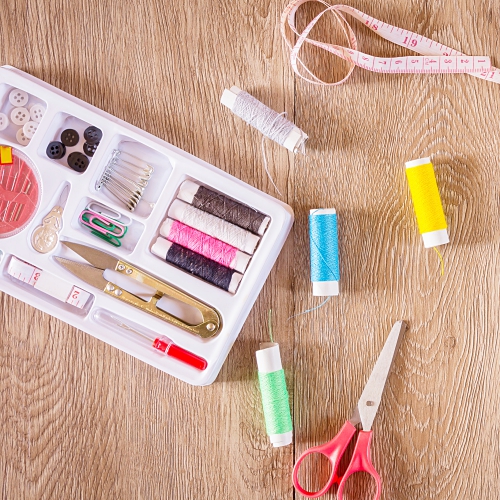
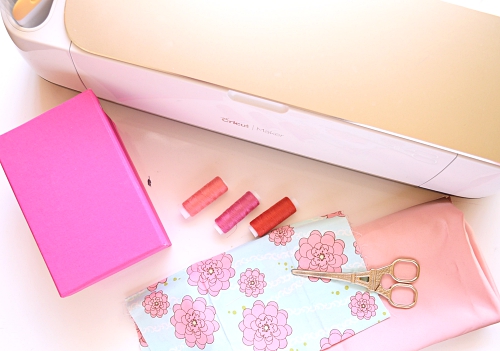
Make the DIY water bottle cover:
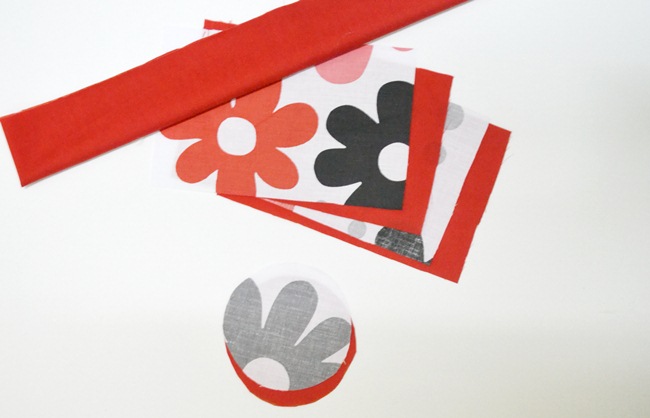
Cut out the following pieces of fabric.
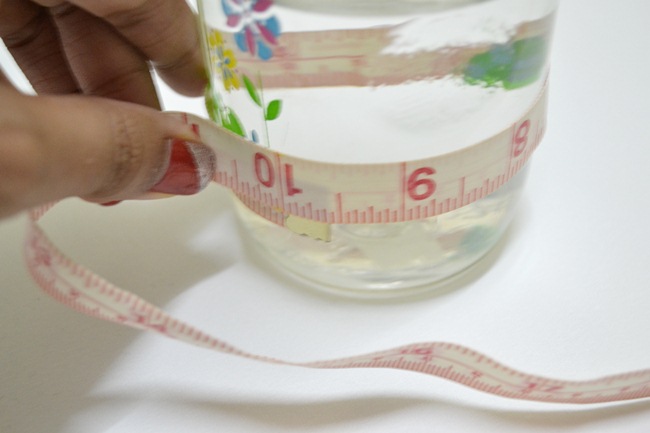
Measure the bottle’s circumference. Add 2″ to it.
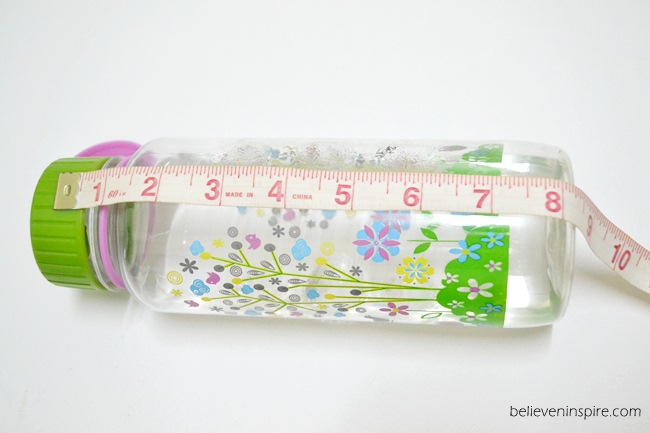
Measure the length of the bottle. Add 2″ to it. Cut out the rectangle from exterior and lining fabric. Cut the rectangle into half.
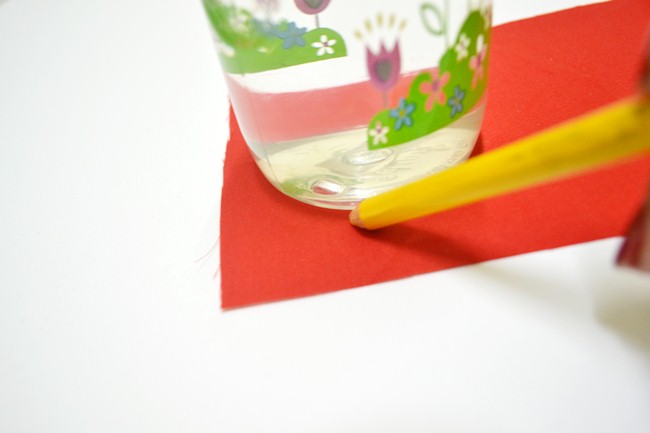
Draw a circle using the bottle. Add 2″ to it and cut from exterior and lining fabric.
Next, cut out the fabric for your handle. 4″x30″
Directions for the water bottle carrier:
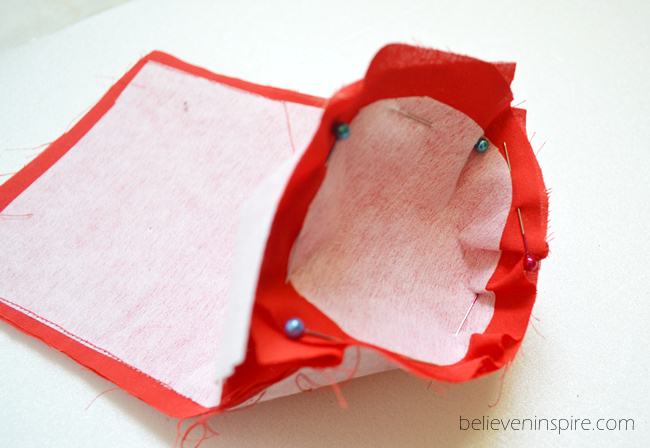
1) Take the lining fabric and fuse the interfacing.
2) Place the lining right sides together and sew, leave a small gap to turn the right side out later. Pin the circle to the sleeve and sew.
3) Repeat the same thing with the exterior fabric.
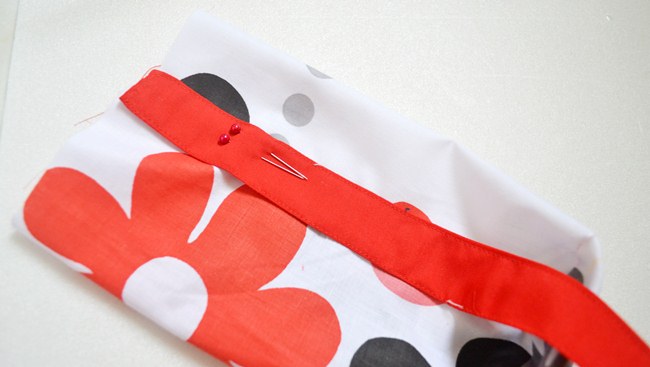
4) Make the straps by following the same steps in making the tag straps.
5) Attach the straps on the outside of the exterior fabric. Make sure you insert your tag inside the strap at this point. Place the exterior inside the lining fabric (right sides facing together) and sew from top top edge.
6) Remember the hole we left in the lining? Pull the whole thing out from it, arrange, press and top stitch.
7) Add the monogram and you’re done! Your diy water bottle cover is ready to roll!

I hope you found the diy water bottle cover tutorial really fun and easy and I hope you also ignored my hands. 😛 They are one thing I’m super conscious about. Never mention my hands to me. It gets me all whiney and cray cray. Lol, just kidding!
If you have any questions, you can email me right away. But, you gotta promise one thing, no hands, okay?
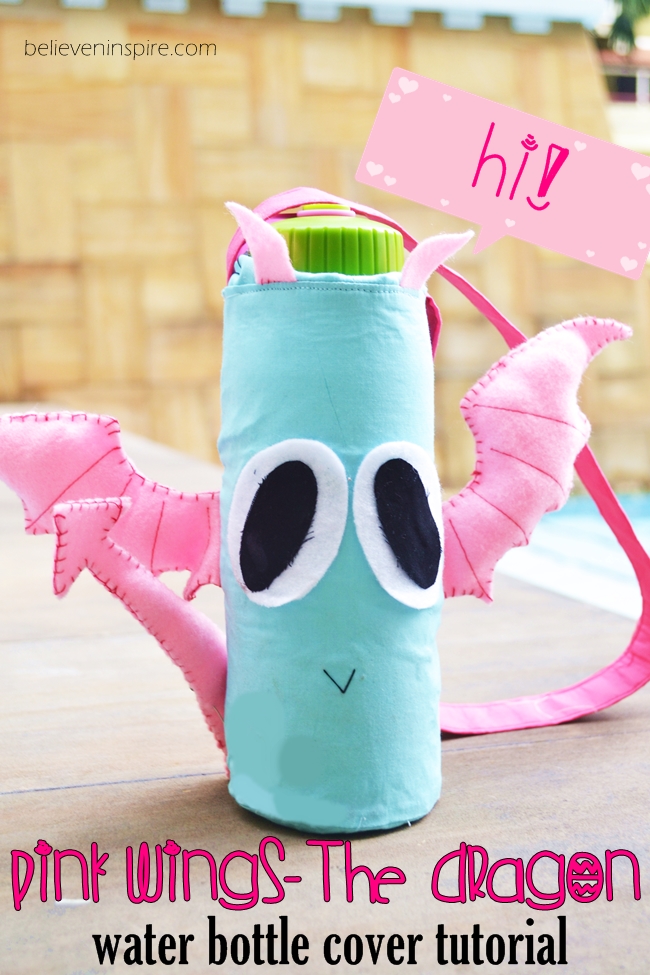
PS I just made a much cuter version of this bottle cover. Check it out here at Pink Wings – The Dragon water bottle cover.

Don’t forget to sign up for our twice a month newsletter for FREE printable!


Pinned for later. Feel free to drop by and share your DIY at my weekly party if you like. Great tutorial. Theresa
Thank you Theresa! xo
love it – icky hands and all! Just teasing, your hands look fab!! Love the tute!
Fab tutorial! Water bottles are a must here in AZ so a cover is brilliant (: We’d love for you to share at our link party over the weekend! XO
Thanks for the invite. I’ve added your party to my list. ^^
Wow really amazing! Even with the tutorial, I don’t think I’ll manage to make it..really lovely.
Thanks so much for joining the Say G’Day Linky Party. We have pinned your post to the Say G’Day Saturday board!
Best wishes,
Natasha in Oz
Thanks so much for the pin Natasha! You rock girl!
Super cute idea and tutorial!! Thank you for sharing it with us!! I’m pinning it to the party board. 🙂
Thanks so much for the pin! 😀 Hope you’re having a great day.
This is such a useful item! The tutorial was great, and I don’t see a thing wrong with your hands. They look beautiful to me. I like your fancy nails, too.
Haha thanks! As they say beauty lies in the sight of beholder. 🙂
Your hands are fine, actually I didn’t notice them until you mentioned them lol.
1 question: you say to add 2″ to the circle, how would you do that? the radii or the circumference? I’m thinking the radious but that would require math. Maybe I can just fudge it. 🙂
Hi Debbie!
Really? I thought my hands were the first thing anyone would notice. Haha thanks, your comment made me feel better.
Okay, talking about your question, you wanna add 2 inch to all the measurements. When you’re cutting the rectangles, you add 2 inch to it. The width of the rectangle is dependent on the circumference.
And when you’re cutting out the circles, you also add 2 inch to the diameter. I hope I’m making sense here.
Let me know if you have anymore questions. 🙂
Thank you for the great tutorial!
Very easy to read and understand – I’ve already pinned this and can’t wait to make a few of these for gifts.
P.S. Your hands look lovely – mine should look that good, lol!
This would be so good for soccer practices! I’ve got a Craft Gossip post scheduled for tomorrow afternoon that links to your tutorial:
http://sewing.craftgossip.com/tutorial-water-bottle-tote/2014/08/15/
–Anne
Yeay! Thanks so much Anne. XD
Hi, I love this and am making it at the moment however you say near the end “remember the hole in the lining” what hole?? You never mentioned a hole. I am confused!!!
Please help I need to finish this for the morning I promised my 5yr old…
Thanks
Don
I was unable to locate any pages after page 2. I clicked on the arrow right above the comment section, but no further tutorial existed. I would really like to finish the water bottle.
Hi Nora! Just fixed the problem. You can check it now.
What seam allowances did you use when sewing? I LOVE this, pinned it and am in the middle of making gifts for teacher-friends!