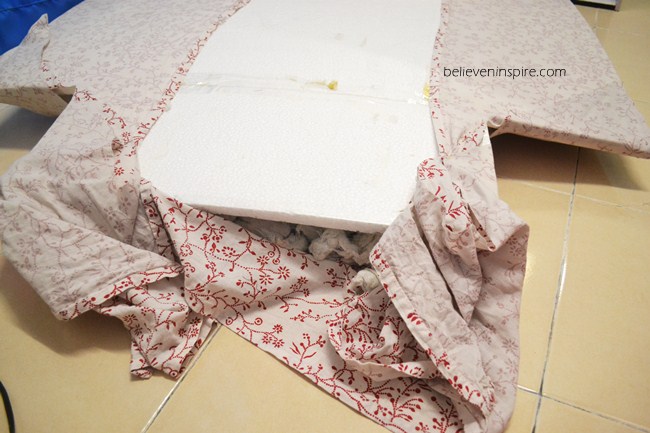
Then, I placed the bed-sheet on the floor with the foam board on top and covered all three sides except the top with the old bed-sheet, using mostly hot glue and sometimes staple gun.
Next, I flipped the board and filled it in with the pillow filling that I took out from an extra pillow.
And then I just closed off the front just like the other sides.
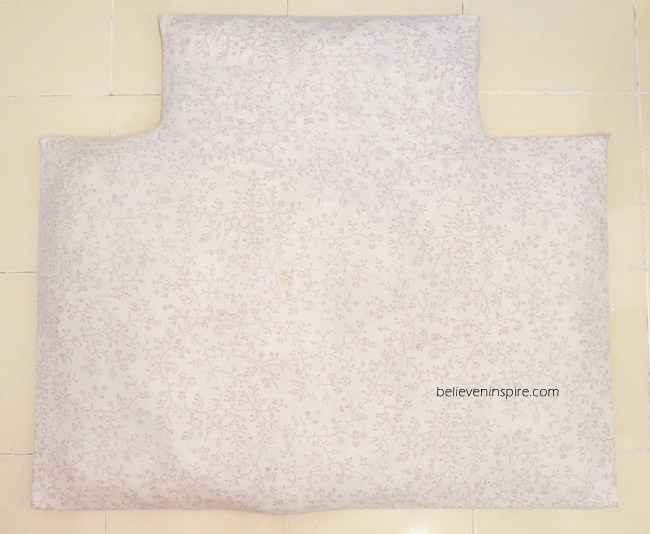
Next, I wanted to see if the new design would work or not because I didn’t feel comfortable, so I just draped the main fabric on it and placed the headboard in position, took some pictures and shared with a friend who hated the look. And so, it was decided, the top is coming off.
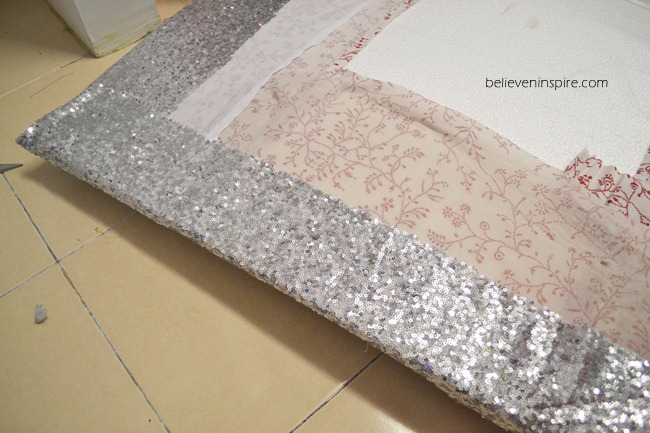
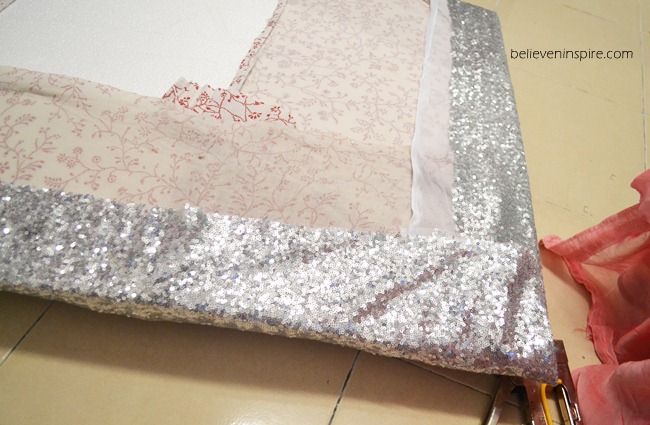
I unwrapped the bed-sheet from the top and cut off the top part, closed it off again and proceeded with attaching the main fabric using glue gun.
I placed the headboard facing down onto the main fabric so that the wrong side of the fabric faced the right side of the headboard.
One side at a time, I pulled the fabric and pinned it along the edge to make sure that it was taut. Then I glued all the sides onto the board’s back.
Then, came the time for tufting! My fav!! I had to think a lot to figure out how to do this. And then it occurred to me.
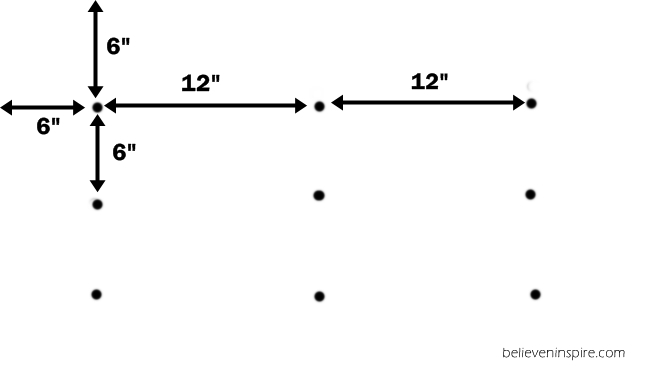
First, I marked the back of my board this way so that I had 9 tufts.
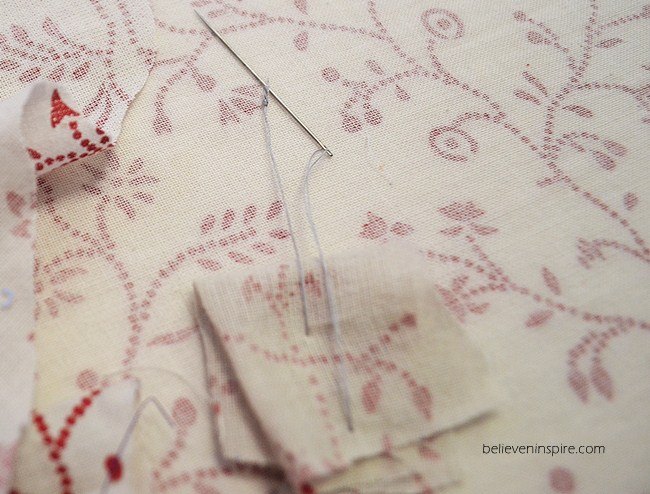
Then, I took my needle and thread, threaded the needle and tied a knot at the end.
Next, I cut out a square piece of fabric from the sheet measuring 2” from all sides.
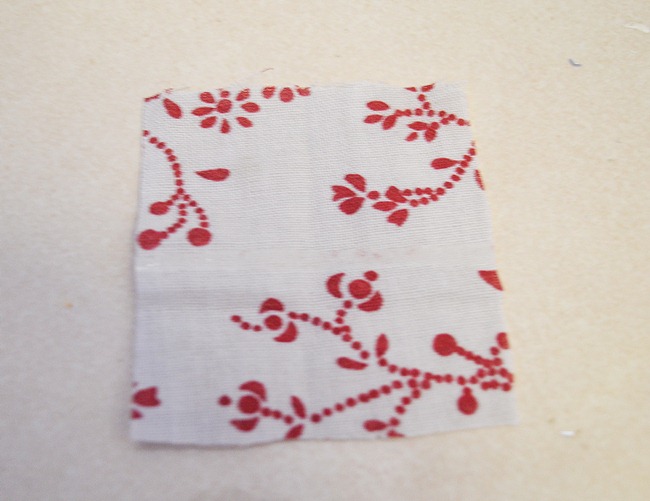
I folded the square to make a smaller square, placed it on the mark. Inserted the needle from one side, brought it out from the other, and repeated making sure to leave a small distance between the two.
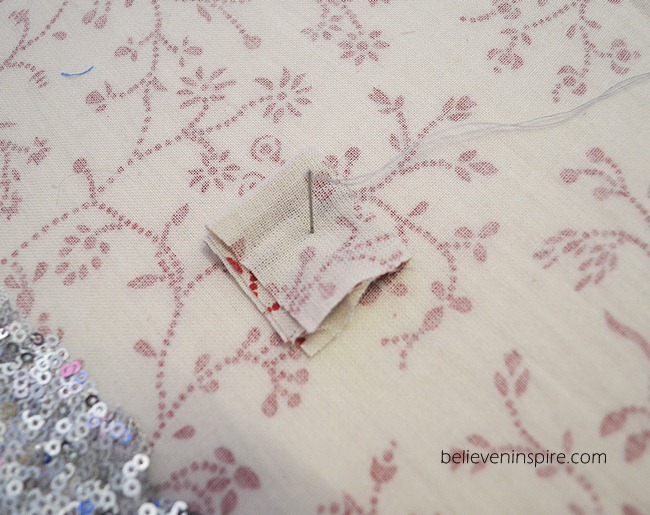
After bringing it back from the other side, I pulled the two thread tightly and tied them into a knot creating a tuft at the front. I repeated the steps for the rest 8.
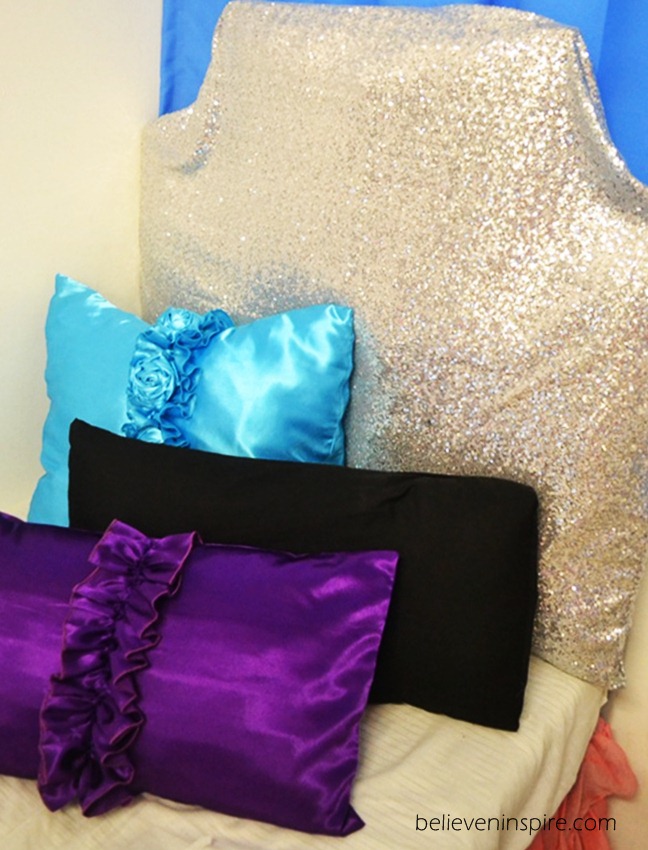
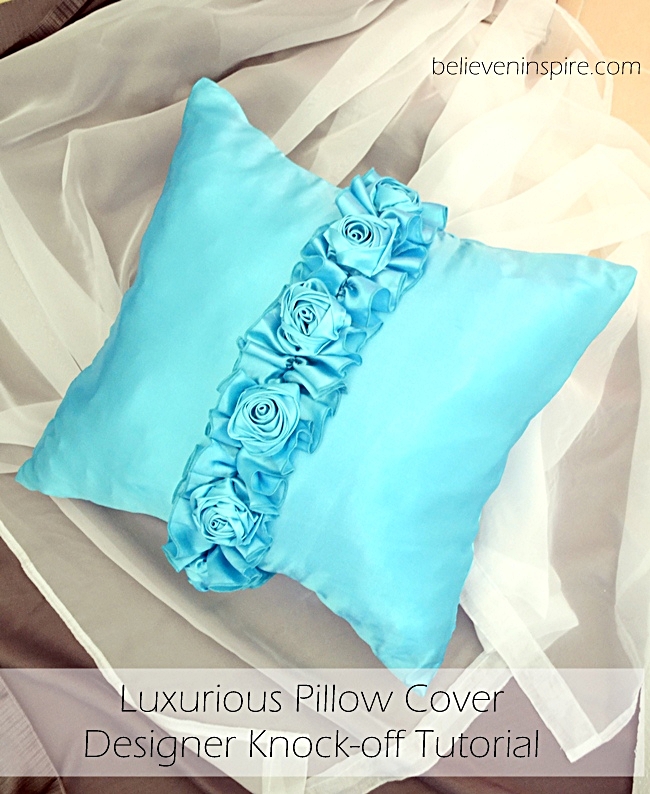
And then I just placed the board at the back of my pillow without any attachment. (I’m too scared to get a fine if I attach it :P). and yea, that’s it!
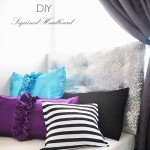
Ultra gorgeous headboard was READY!!
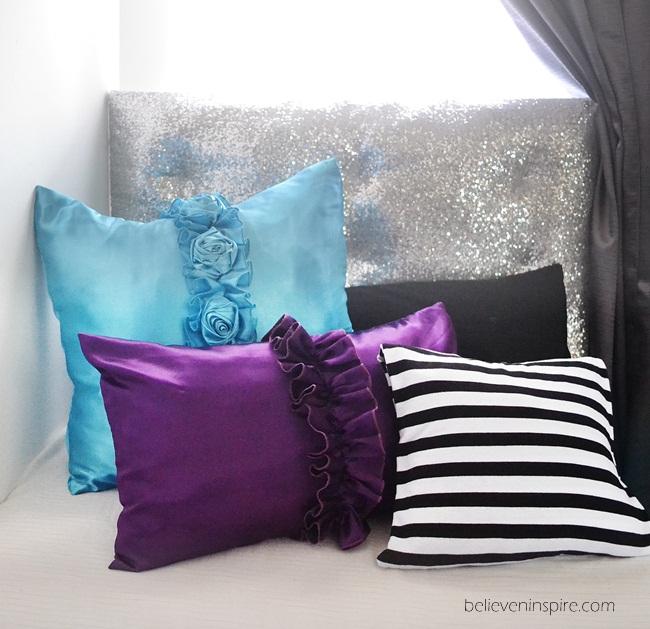
More from this room:

Linking up to these blogs:
Not just a housewife, Savvy Southern Style, Funky Junk Interiors, French Country Cottage, Six Sister’s Stuff, Sew Much Ado, DIY Show Off, I heart Naptime, Craft berry Bush, Coastal Charm, DIY by Design, Too Much Time , The Charm of Home, Flamingo toes, Flour Me With Love, Someday Crafts, What’s Cooking Love, The Crafty Blog Stalker, Create Craft Love, My Romantic Home, Sugar Bee Crafts, Time to Sparkle @ The Gunny Sack, Home Stories A to Z, The Girl Creative, Kathe With an E, The 36th Avenue, Lil’ Luna, http://freshideastudio.com, My Re-purposed Life, 2 Crochet Hooks, It’s Overflowing, Live Laugh Rowe, One Dog Woof, One Project Closer, Glitter Glue and Paint, Natasha in Oz, Lolly Jane, Gina’s Craft Corner
This post first appeared on Believe&Inspire.
Don’t forget to sign up for our weekly summary of blog posts. Psst. there are FREE printables hidden inside! XD


Your headboard looks so pretty. I love sequins. I like that you used foam board instead of a heavy wood.
~Bonnie
Yes, me too! Thanks so much for dropping by. 🙂
so glamorous! Come share at my link party http://www.carissamiss.com/2014/12/outside-box-no-14.html
Thanks SO much! 😀