Assalam alikum girls javeriya here
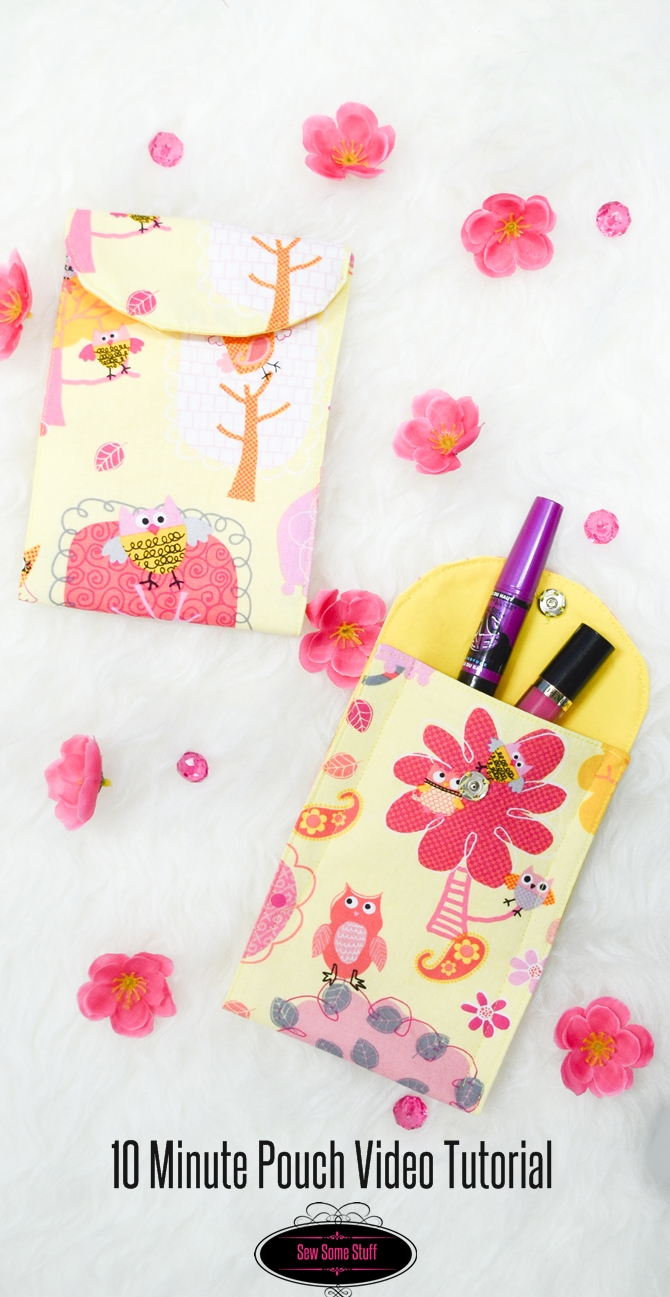
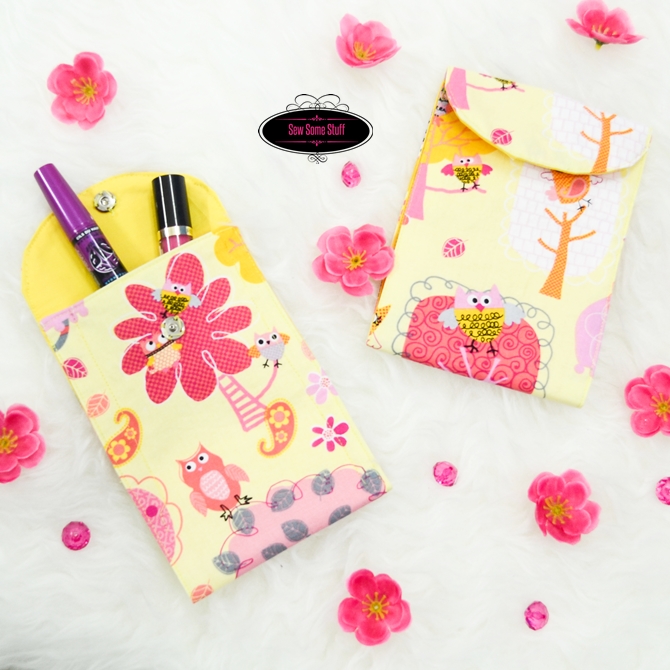
Todays tutorial is gonna be a real quick one. I’ll be showing you how to make these mini wallets in less than 10 minutes.
So get your supplies.

10 Minute Handmade Wallet Tutorial

You’ll need
- 1 yard exterior fabric
- 1 yard lining fabric
- 1 yard soft fusible interfacing
- Snaps
- Sewing Supplies
- (AD) Pattern
These are all my supplies. I’m using quilting cotton fabric for both lining and exterior.
First off, I’m gonna lay the lining fabric flat on table.
Next, I’m gonna trace out the pattern on it. I’ll be making two wallets for two of my nieces so I’ll be tracing two patterns.
My pattern might look funny and that’s because I just printed the upper part because I want my wallets to be larger in size than the one in the pattern.
I’m just gonna use the ruler to extend the pattern here.
Okay that’s all done. Now I’m gonna cut out the fusible interfacing for both sides and exterior fabric based on this size and I’ll fuse my facings to each piece.
Okay now I’m gonna pin the two pieces right sides together and I’m gonna sew on the line I drew on the lining fabric. Make sure you leave a small gap to turn the right sides out when sewing.
Now I’m gonna chop off the excess pieces, clipping the circular edge and then I’ll turn the right side out.
Next, I’ll top stitch all around and then I’ll fold into half and sew along the edge.
Here my top stitch is done and now I’ll fold and sew along the edge and add the snaps.
Ta-da my mini wallets are ready! Thanks for watching, do like and subscribe!
Don’t forget to sign up for our weekly summary of blog posts. Psst. there are FREE printables hidden inside! XD


I love this little wallet. Thank you for sharing your tutorials with us. I’m a new follower!
Cheryl
Thanks so much Cheryl! And welcome! 😀