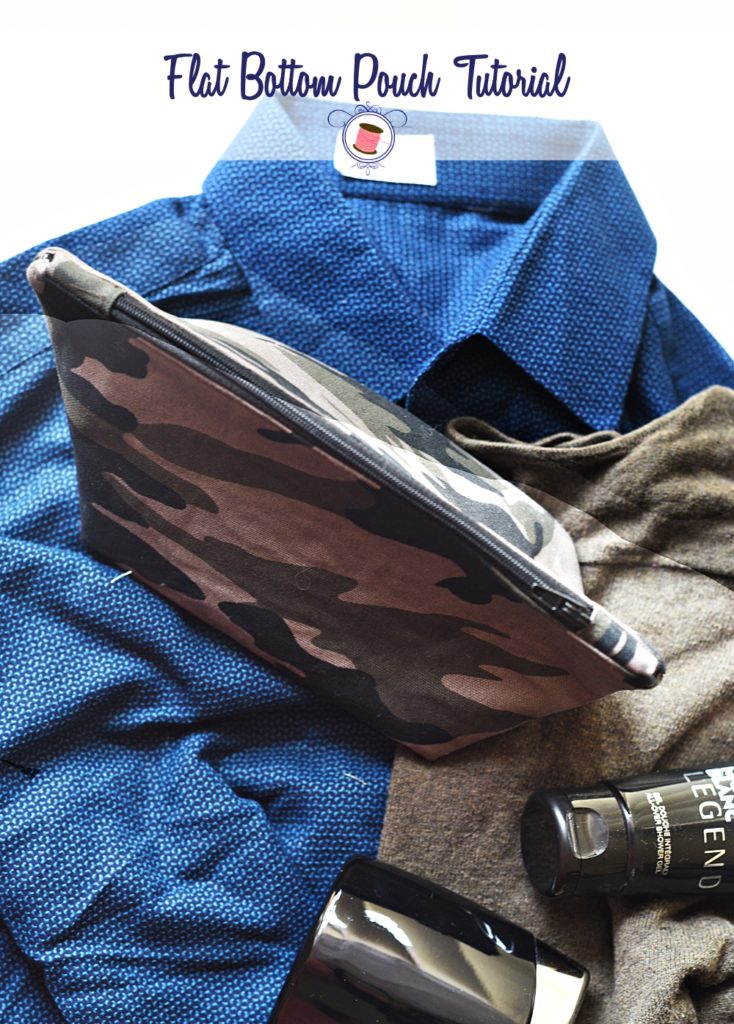
In this Flat Bottom Zipper Pouch Tutorial, you will learn to sew a lined zipper pouch. This is an easy sew zippered pouch with a zipper pouch video tutorial. This lined zipper pouch sewing pattern is super fun and perfect for beginners.
Flat bottom zipper pouches are a MUST-HAVE for literally every person on this earth! Why? Because they’re SO handy and have SO much storage space. Add some custom prints to it using a Cricut Iron-on vinyl and you have some super lovely gifts ready in just a few minutes.
These days I’m back at sewing small projects like I used to earlier instead of bags which take SO much time in cutting and sewing and girls, the break is SO REFRESHING. I’m amazed at how quickly I’m done recording the tutorial, sewing and editing the videos. Ah, I definitely missed this because for a very long time I only made large bags with lots of steps and parts which took up SO much time. But then again they were totally worth it.
Okay back to zipper pouches!
Something you can NEVER have enough of.
Every time my husband sees me sewing a zipper pouch he’s like, “don’t you already have enough of those?”
And I’m like….duh…no!
Even though you have like a gazillion of them lying around, they always seem less when you actually need them which is while traveling.
That’s when you need a flat bottom pouch for your undies, your travel toiletry, dirty undies, jewelry and literally EVERYTHING.
And for those instances, today I’m showing you how to sew a flat bottom zippered pouch and I’ll also share with you a little secret on how to make literally any pouch a flat bottom pouch of any size! Get ready, you’re going to love this.
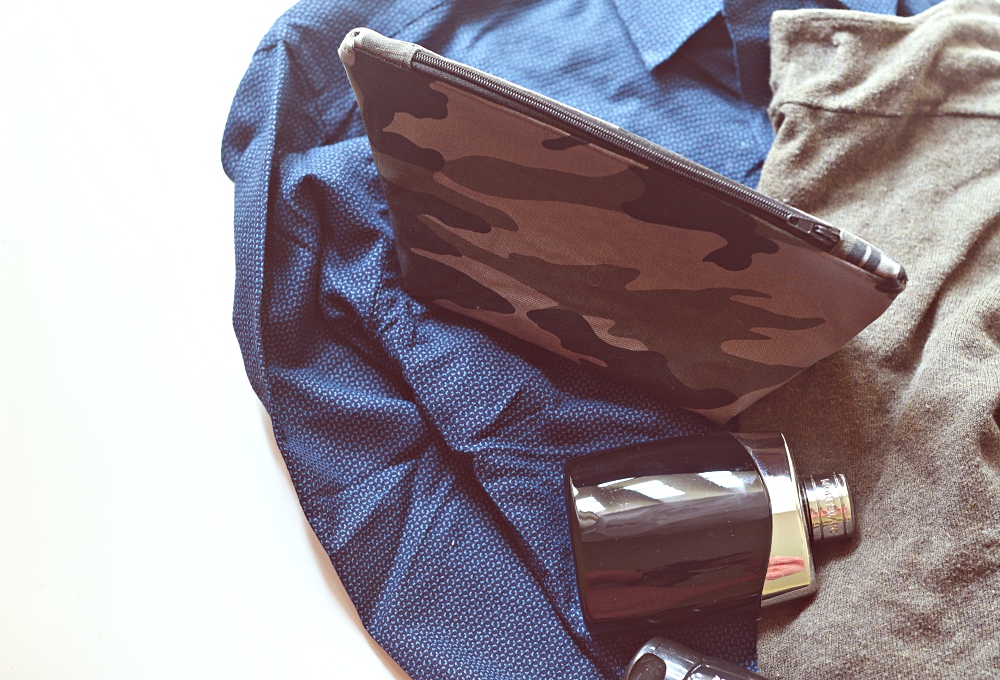
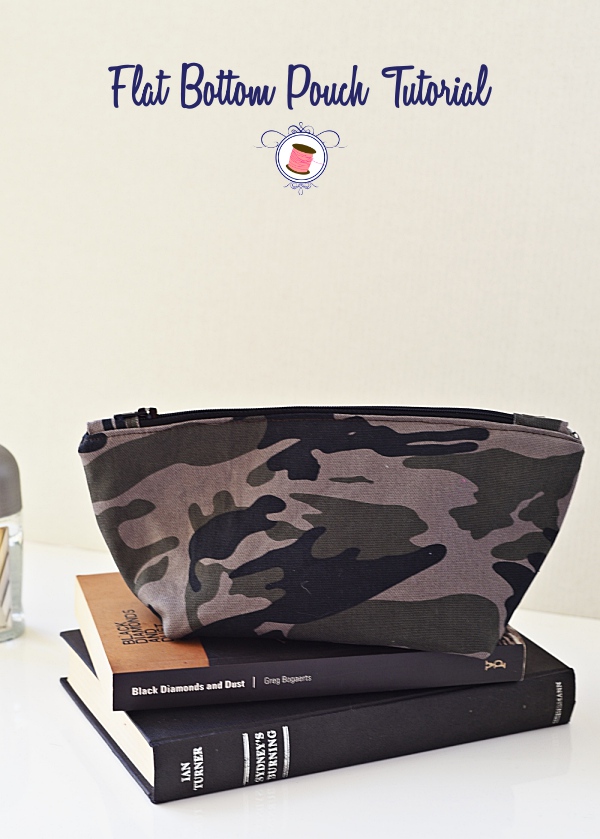
Flat Bottom Zipper Pouch Tutorial
DISCLAIMER: SOME OF THE LINKS IN THIS POST ARE AFFILIATE LINKS
Supplies for Flat Bottom Zipper Pouch Tutorial
- Fusible fleece – used to give structure to the pouch so that it can stand-up like an alert watchdog.
- Exterior fabric
- Lining fabric
- 10″ matching zipper
- Usual sewing supplies
- Sewing machine
Cutting
Cut out 2 fusible fleece, 2 exteriors and 2 lining fabric pieces measuring 10.5″ x 7.5″.
Sewing Flat Bottom Zipper Pouch
To start off, cut out a 2″x2″ square at the bottom side of your exterior, lining and fleece panels as shown below.
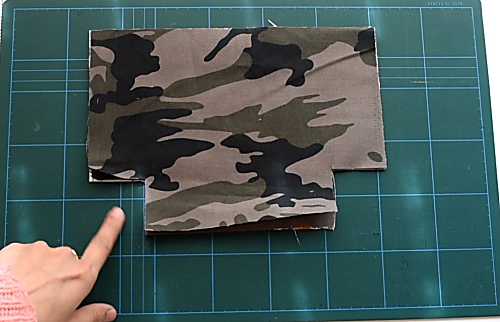
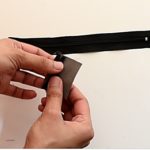
Use the square portions to create a zipper tab by folding the raw edges of the piece to the center and then press.
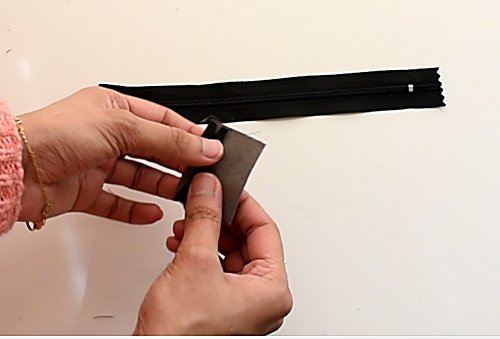
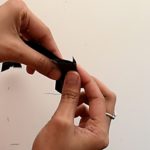
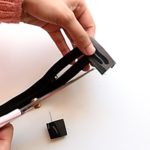
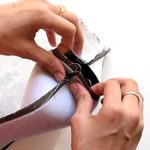
Next, sandwich the zipper ends in between the folded edge of the tab.
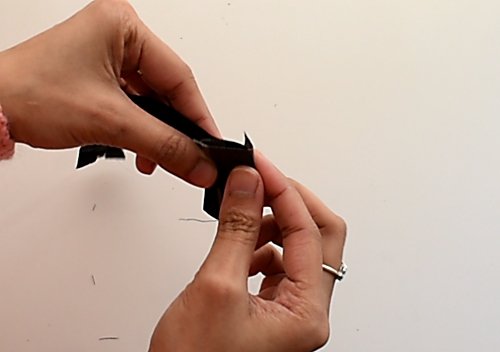
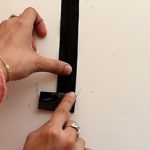
Top-stitch on the right side. Repeat for the other side of the tab.
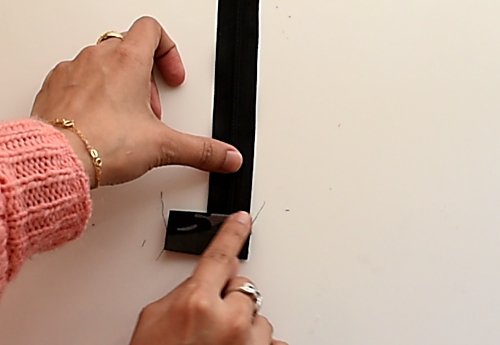
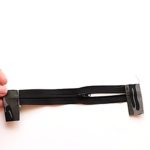
This is what you should have by now.
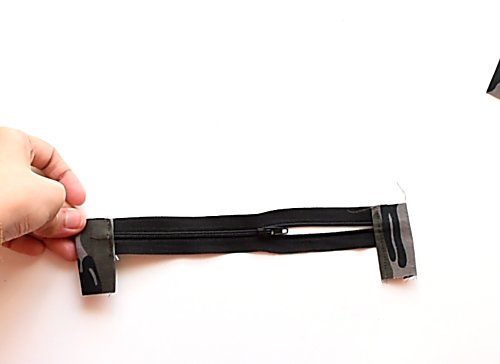
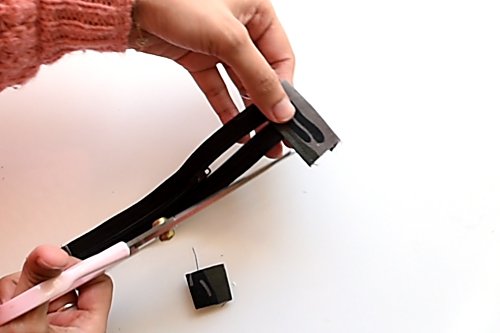
Snip off the excess tab.
Place zipper on one of the exterior pieces, zipper pull side down as you can see below so that it is centered.
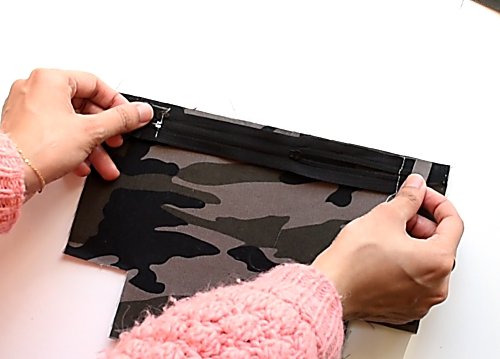
Place the lining fabric on the top right side down as you can see below, aligning the top raw edge of the lining to the raw edges of the zipper and the exterior.
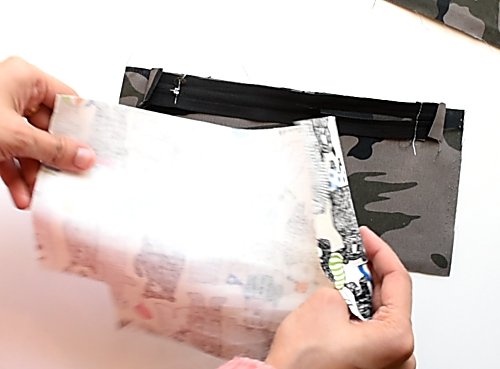
Sew the three layers together using a seam allowance of 3/8″.
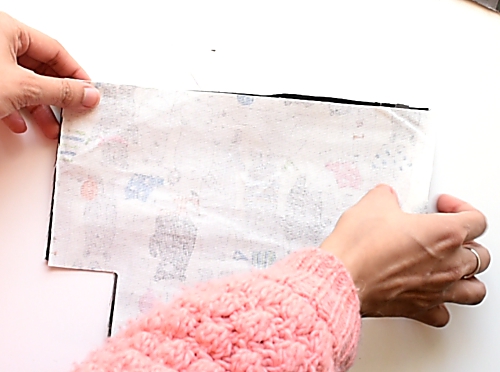
Turn right side out to expose the other end of the zipper as you can see below.
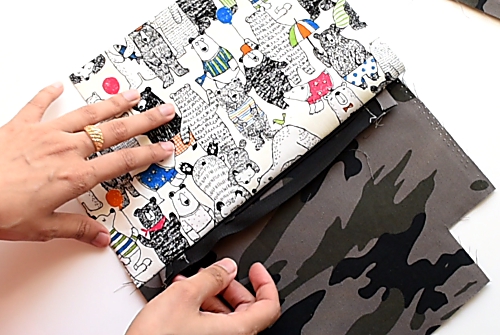
Place the zipper end on the other exterior panel aligning the raw edges of the exterior and the zipper together.
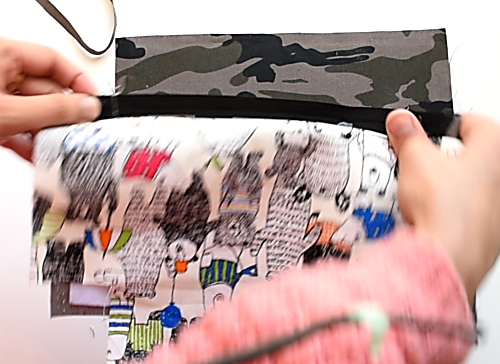
Place the lining on top, right side down as shown below matching the raw edge of the lining with the zipper. Sew the three layers together using a seam allowance of 3/8″.
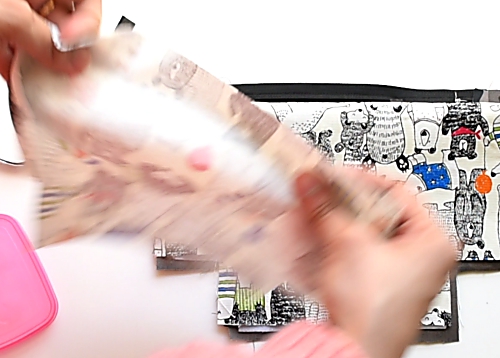
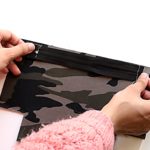
Once done, turn the whole thing right side out as shown below. Top stitch the zipper using a seam allowance of 1/8″.
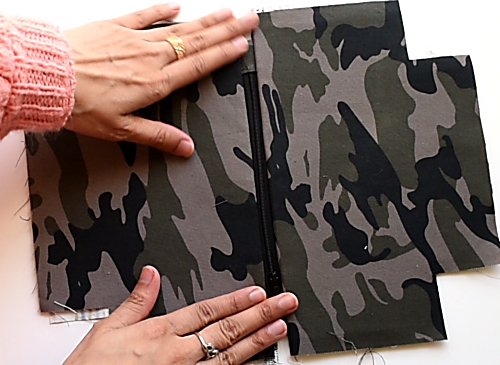
Turn to the wrong side and sew along the side and bottom edges only leaving the staircase part as it is. Use a seam allowance of 3/8″. Also, leave a 3″ wide gap in the lining to turn right side out.
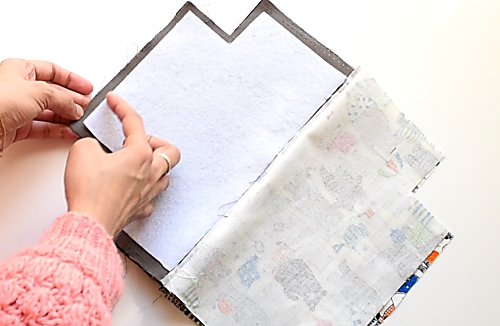
Next, bring the side and bottom seams together as shown below and sew the gap close. Repeat for the lining and the other side as well.
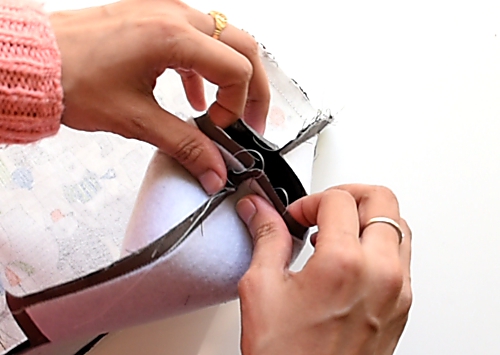
Once done, turn the pouch right side out from the gap in the lining.
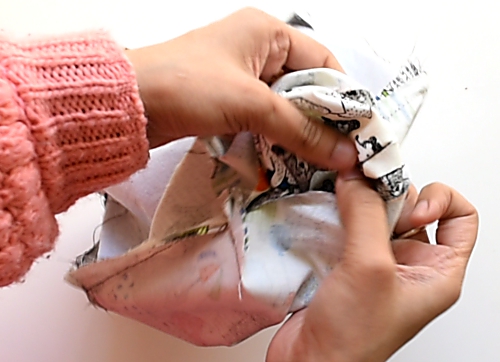
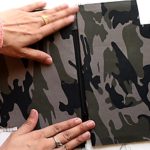
Poke all the corners out and top-stitch the lining closed. Congrats, your flat bottom pouch is ready!
The End of Flat Bottom Zipper Pouch Tutorial
Want to sew more pouches because they’re so FUN and easy?
Check out these posts below!







[…] BEST Flat Bottom Zipper Pouch Tutorial for BEGINNERS […]