In this post, I’m sharing a super easy wallet tutorial. This DIY wallet is perfect for beginners who want to learn how to sew wallets. It comes with a free wallet pattern and wallet sewing tutorial for beginners
Disclaimer: This post is sponsored by Wholeport and contains affiliate links.
Hey, lovelies! This week’s tutorial is late as I was traveling and didn’t have it scheduled from before.
Anyhow here I am back to the blogging world and today I’ll be showing you how to make a super cute wallet all by yourself and you won’t need a sewing machine for it. Promise.
So, if you are following me on Facebook and Twitter you would know that my package from Wholeport arrived last week and they sent me this cute DIY Wallet Kit along with a few other stuff.
And today, I will be showing you how to use this DIY kit to make your own super cute wallet.
(Click on the images to enlarge)
The best thing about this kit is that all the supplies you need are included in the pack, other than the scissors ofcorce!
As you can see in the image below, they have also included a how-to step by step tutorial with a pattern. It was quite confusing as everything is written in Chinese. But, you don’t have to worry as I have broken it all down for you and made it easier to follow the tutorial.


This is the pattern that was included.
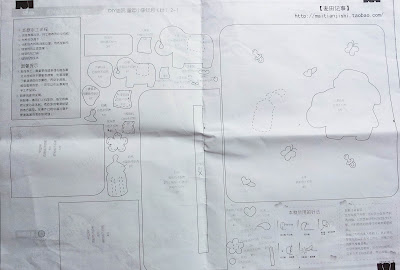
So, first what you gotta do is cut out all the patterns from the paper.
Place them onto the respective colors trace out, and then cut.

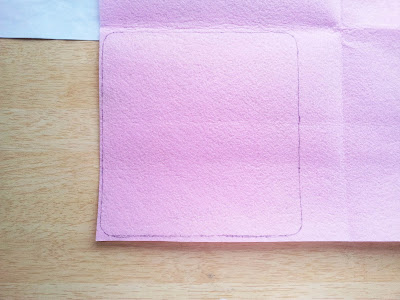
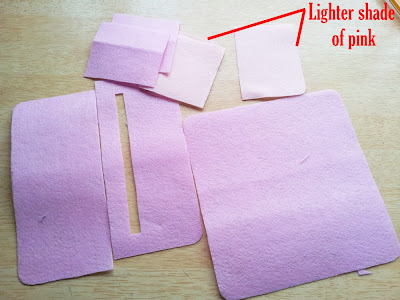
So here are all the pieces cut out. You would need 4 small squares 2 rectangles and one large square.
Don’t forget to cut out a rectangular hole for a zipper.
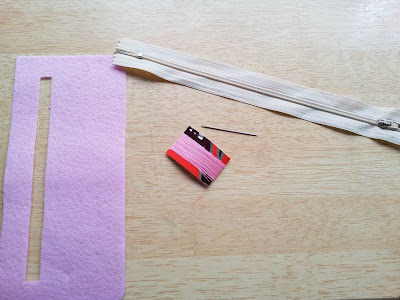
Next, sew in the zipper. The zipper, thread, and needle are available in the pack.
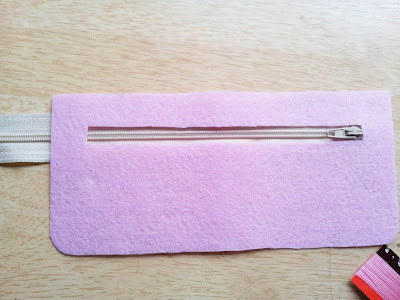
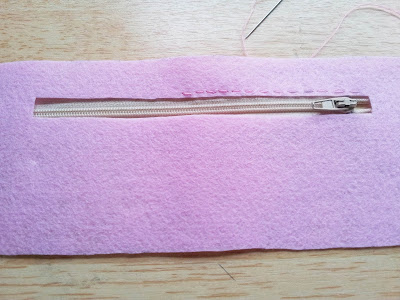
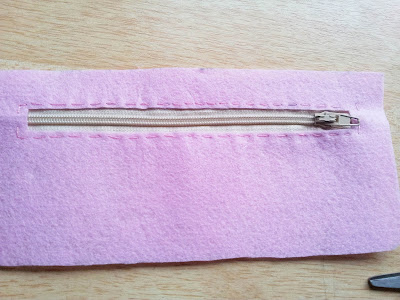
Next, place both the rectangles together and sew from the top. The sides will be taken care of later.


Next, you gotta cut out all the little shapes. Trace them onto respective colors and cut them out.

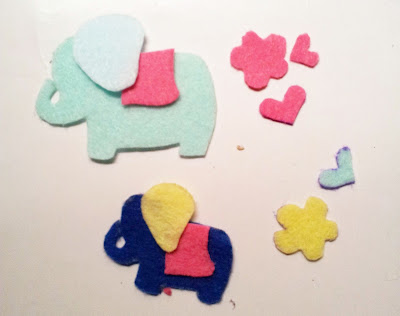
Assemble and then glue them onto the white felt. Then cut it out.
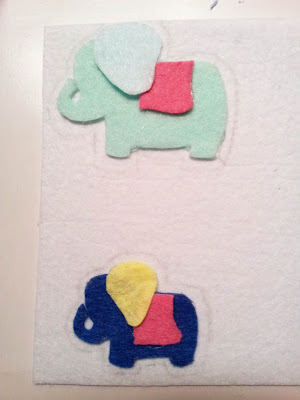
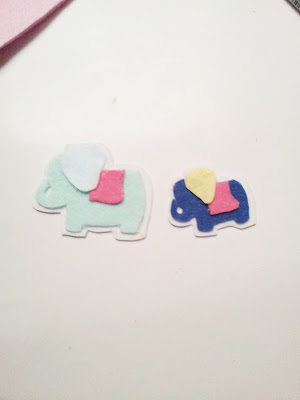
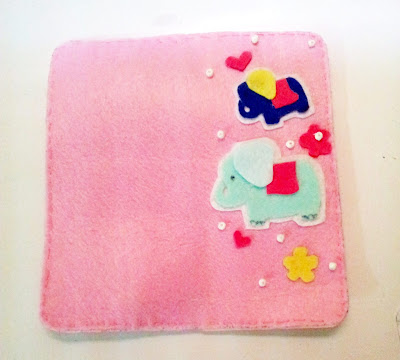
Place it onto your large square and sew it in place using a white thread and glue the flowers and hearts.
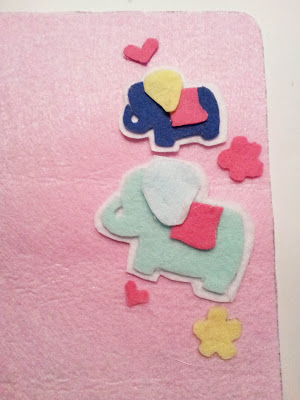
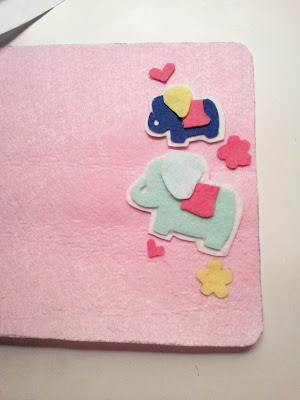
Next, sew in the beads.

Okay, now you gotta cut out another rectangle shape.
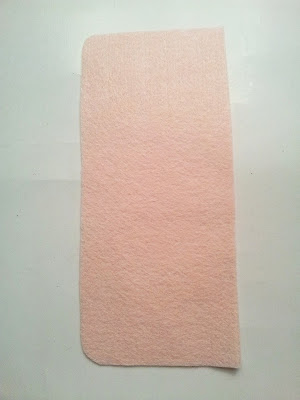
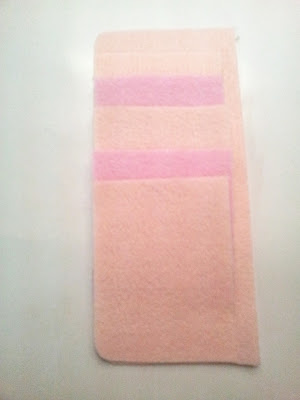
Then you have to place all the small squares onto it and sew.
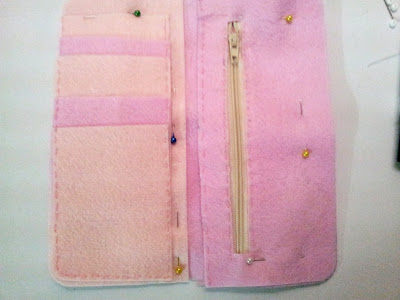
Alright, next place the zippered section and the other rectangle side by side on the wrong side of the large square, pin into place and hand sew from all four sides.
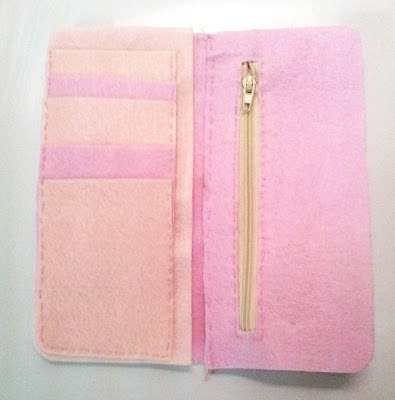
Oh, I forgot to add the clasp. All you gotta do is sew the buttons onto clasp and attach it in between the sandwich. And then sew from all four sides.
And there you go!
Your wallet is ready!


More Wallet Sewing Tutorials and Patterns
Want more wallet sewing tutorials and patterns? Check out these posts below!
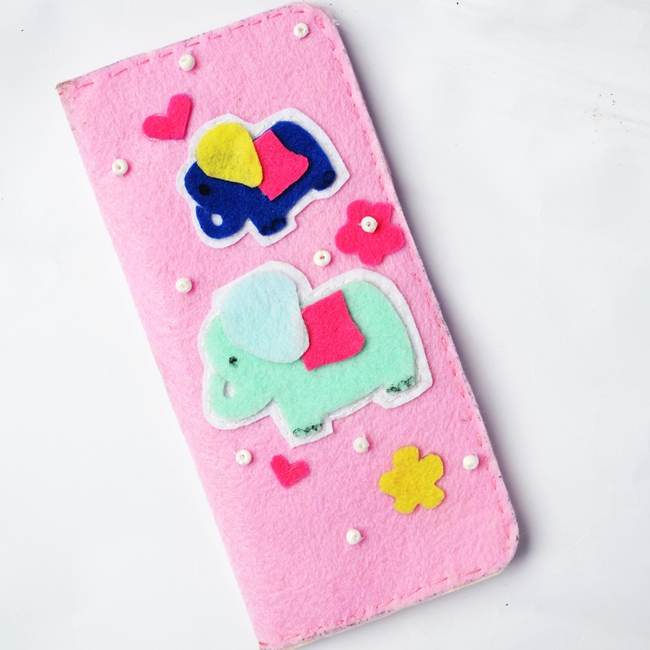


[…] DIY Easy Wallet Tutorial […]